Ok, so it’s not completely done but it’s so close that I simply just couldn’t contain myself any longer. You guys wanted some kind of kitchen progress report since our last resort life update, right? I feel like I’ve waited my whole life for this moment. It’s seriously right up there with getting married and having a baby. Our resort house kitchen is thiiiiisssss close to being done and I’m in love! Can’t wait to show you our kitchen shelves that I’ve been talking about, keep reading…
This post contains affiliate links for your convenience. That means when you click through and make a purchase, The Twin Cedars blog may receive a small commission at no additional cost to you. This allows us to continue to bring fun and informative content to this webpage, for free…we appreciate your support more than you could ever know! Full disclosure here.
When I got home a couple weeks ago and Bob revealed the new kitchen counter tops I actually started crying…I’m so lame! I’m quite an emotional being these days. I was never like that before and I can’t explain it except that it was probably 5 or 6 years ago and suddenly I could create tears even for a Subaru car commercial. Honestly you guys, I laughed at my wedding.
Bob would kill me if I told you this…no worries right, this is just between us? He balled as I walked down the isle, awwwe what a sweet groom. Then pan to me, just laughing – giggling almost, while my new husband cried like a baby. Perhaps he was just realizing what he was getting himself into. bwahahahaha!!!
Seriously though I think husbands all over the world are cursing Pinterest for all the work and money it’s costing them and those floating shelves are no exception! I’m pretty sure Bob and Nick (our friend that’s helped out tremendously!) wanted to personally ban any and all type of Pinterest usage from here on out.
These floating kitchen shelves are a simple concept. Get your brackets, drill the holes into the slab of wood and slide them on. Well…sort of but with a whole lot more planning and measuring.
But I love them!
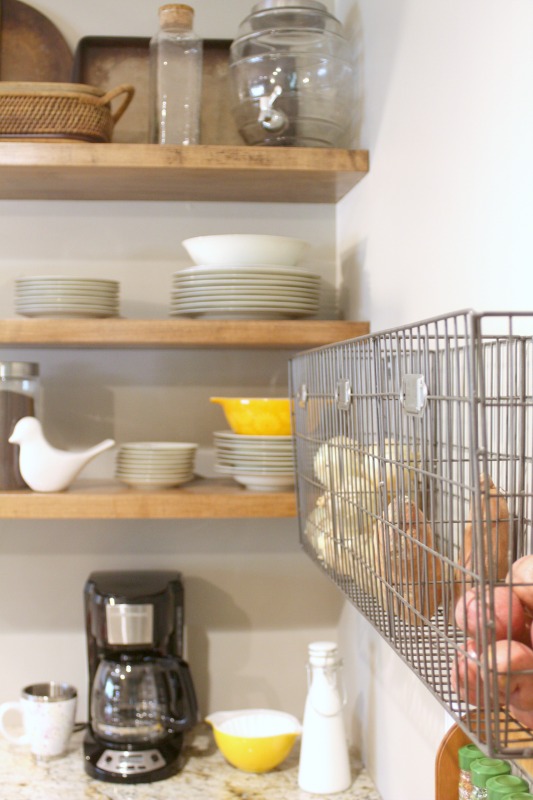
I cannot stress enough how important it is to measure as many times as you have to, even if you’re feeling a bit OCD about it, just do it! A lot!
Some tips for installing floating kitchen shelves:
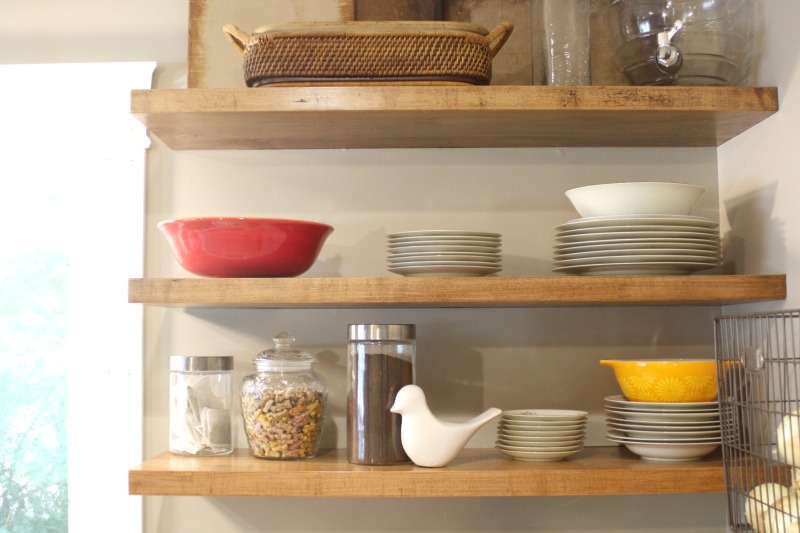
- Measure the space between each board and draw it out on your wall. We did about 10 inches between each. Adjust based on the height of your ceiling and cabinets or to how many shelves you’re using.
- Draw an outline of the bracket on your wall using a long level to ensure they’ll be straight.
- Know where your studs are!
- Even though the brackets are for actual floating shelves, it would be wise to butt them up to the adjacent wall and anchor them like we did. It allows for better support.
- If you don’t want to do number 4 (above) then you really should go all the way down to the stud and dry wall around them. That 1/2 inch of drywall is a weak point and could allow just enough give to make your new shelves sag.
- If you don’t drill the holes for the support bracket just right they won’t slide on very easily. Bob and Nick started at the bottom shelf with a bit of a struggle but by the time they worked their way to the 3rd it was a breeze. Right guys??? 😉
- When asked if they’d like to install anymore of these beauties? It was a unanimous, no. They aren’t as easy as they look and they do require a bit of muscle. But the outcome, in my opinion, is totally worth it!
- Make sure you have the right equipment:
- the brackets
- Precision Forstner drill bit
- long Forstner bit extender
- a drill press makes it easier* but not necessary
- if you don’t want to get a press you must use an electric handheld instead of battery operated – it just won’t have enough power
- Use a scrap piece of wood and hammer to pound them all the way onto the bracket so you don’t bang up your beautiful kitchen shelves.
*It is absolutely essential that the holes you drill are level and even throughout.
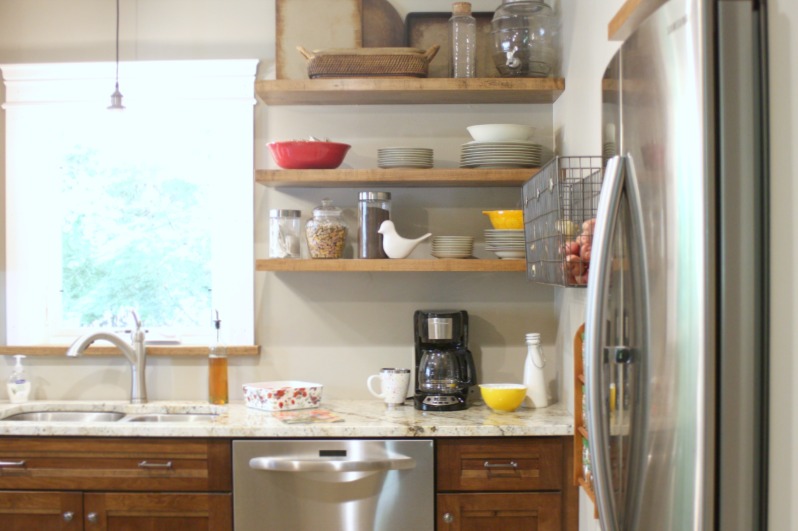
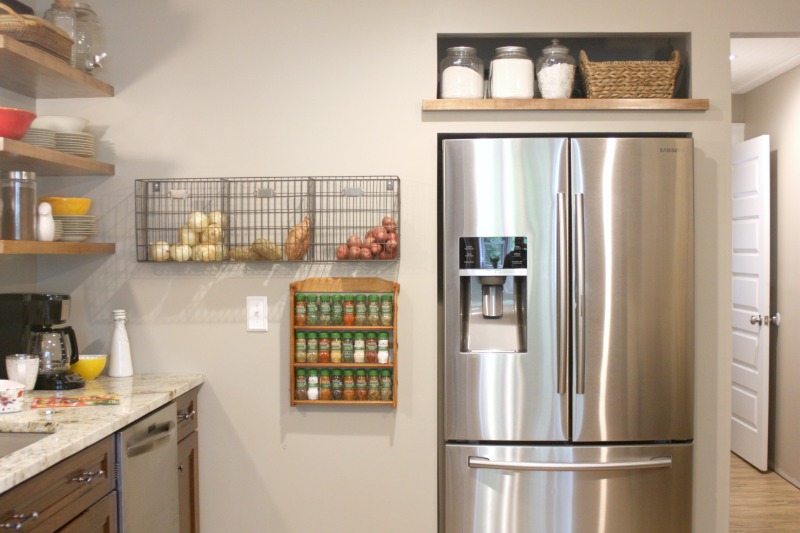
The final verdict on our new kitchen shelves?
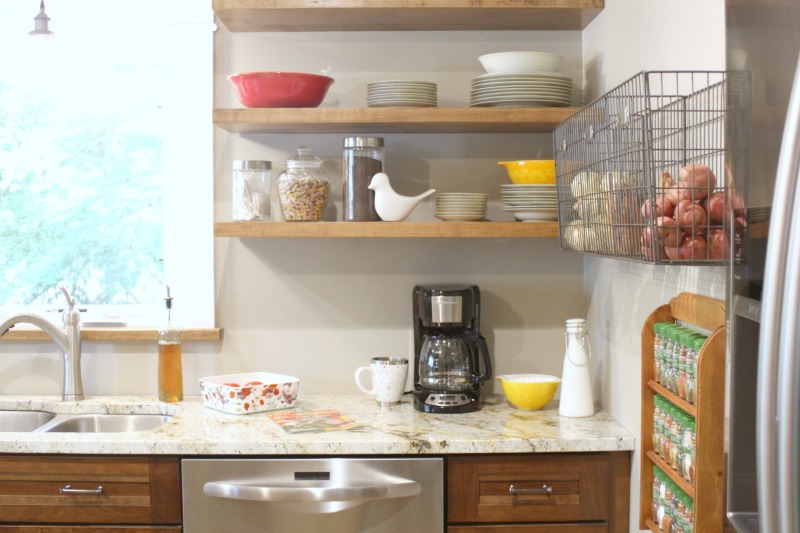
Even though they were a pain to install…not for me, I just got to watch and supervise 😉 they really look amazing. Bob has approved and finally agreed they were a great design choice. What do you think? I’m wondering if I need some kitchen shelves styling education? Hmmmmm, Pinterest anyone?
Still to come for the Kitchen: final decorating (we need some wall art!), installation of our back-splash which will probably be sometime next fall, finishing up the baseboard trim and I’d love a floating island but haven’t been able to find exactly what I’m looking for.
Follow along on Facebook!
*Update: I’ve had many questions about the wire hanging basket. This was a great find at an area Habitat for Humanity, but checkout these other cute ones I found. Also, how lucky am I to get this great spice rack (with all the spices included) from Bob as a gift. I’m kind of a spice addict and love experimenting.
Related posts:
Resort Life Update & those floating shelves!
