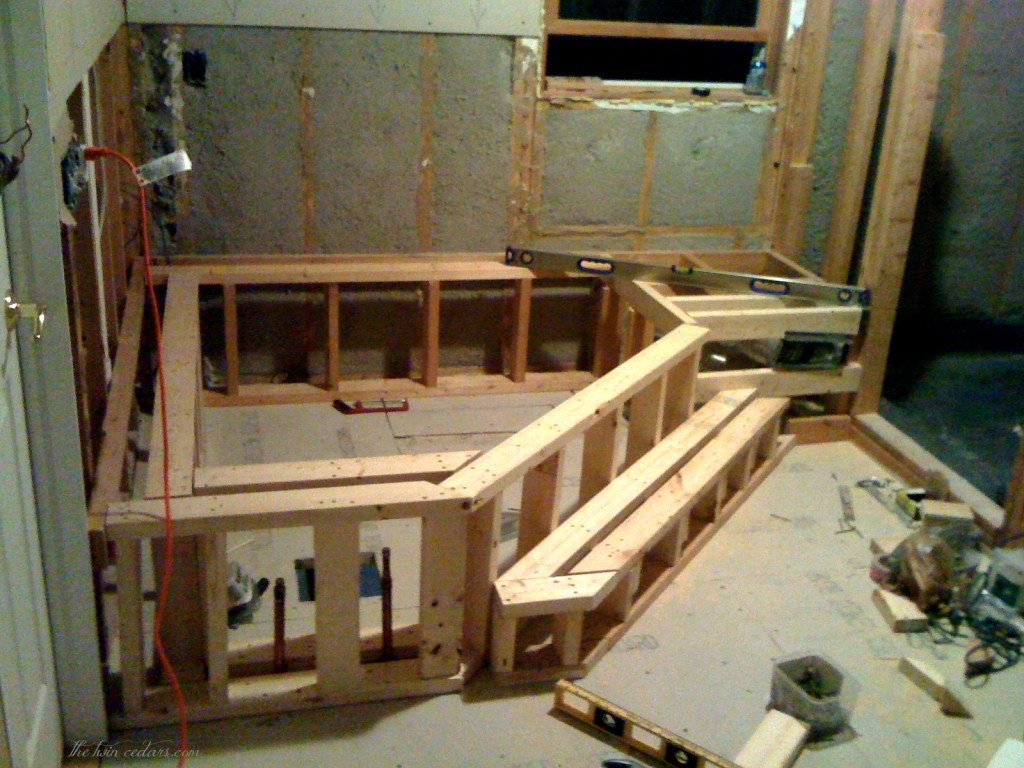
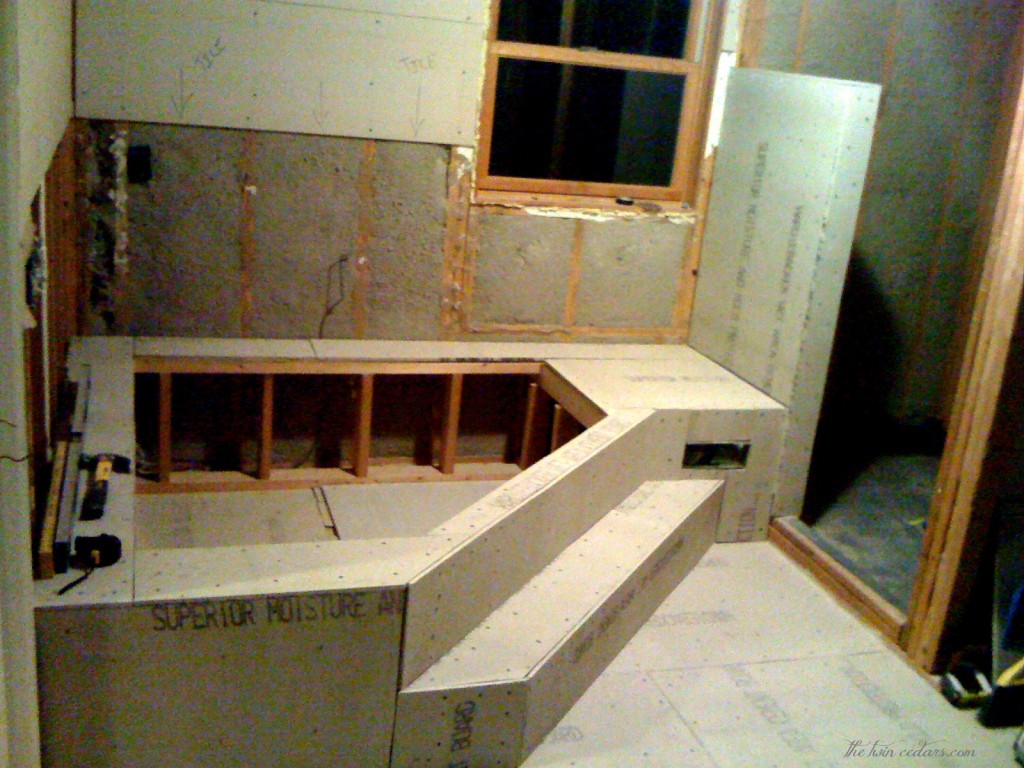
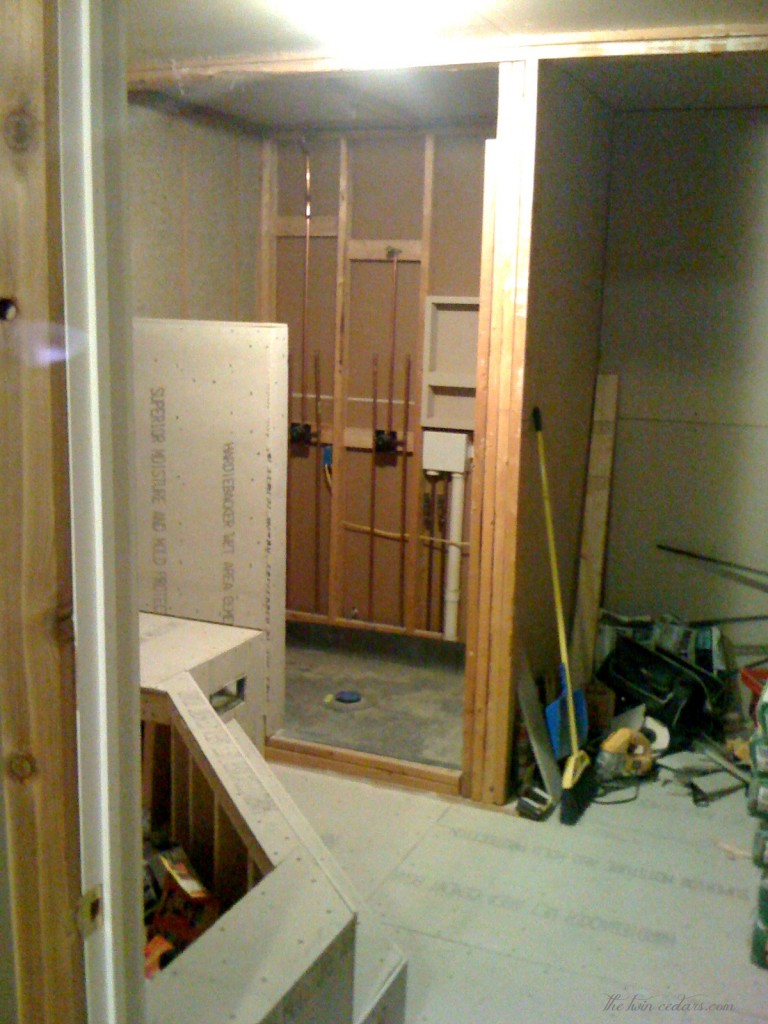
Here are the befores…
This huge bathroom off the master bedroom was pretty much unfinished…made it nice to change things up to how we wanted.
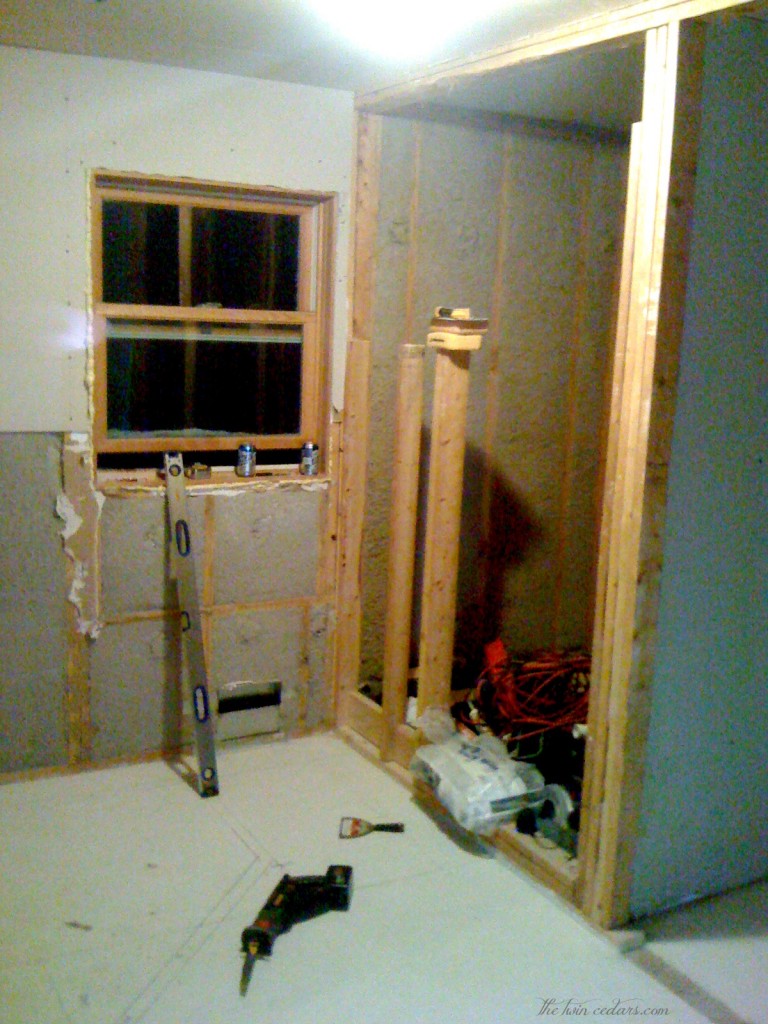
The plumbing for a vanity was along the left wall and directly across from the window was originally meant to be a large walk-in closet.
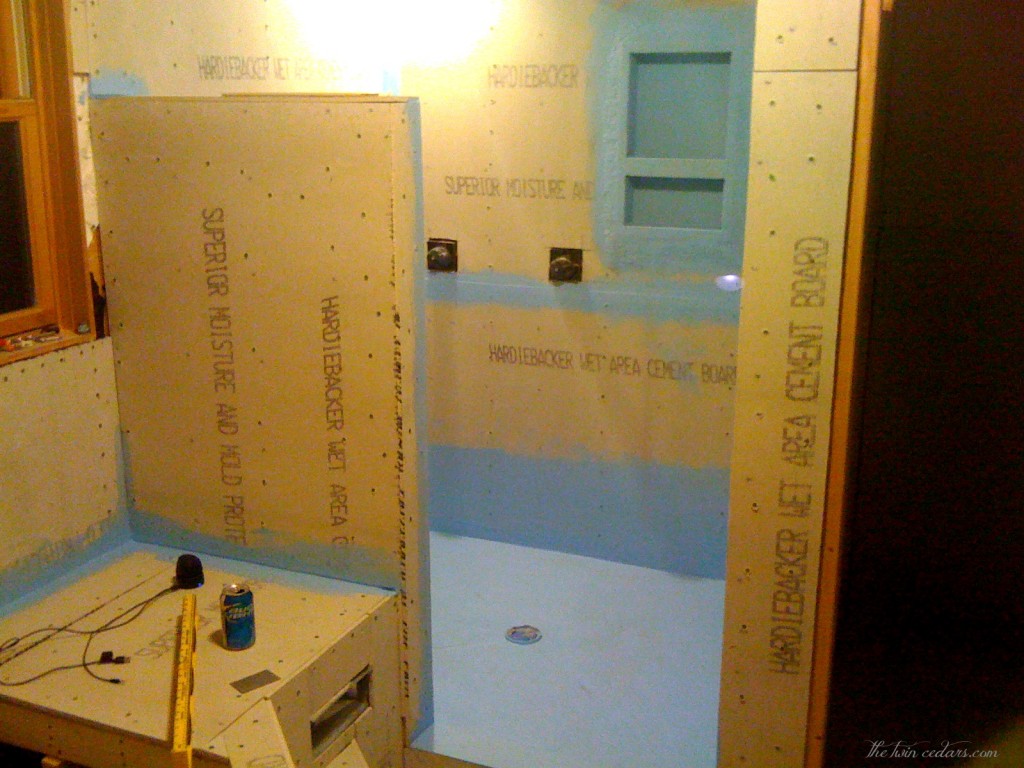
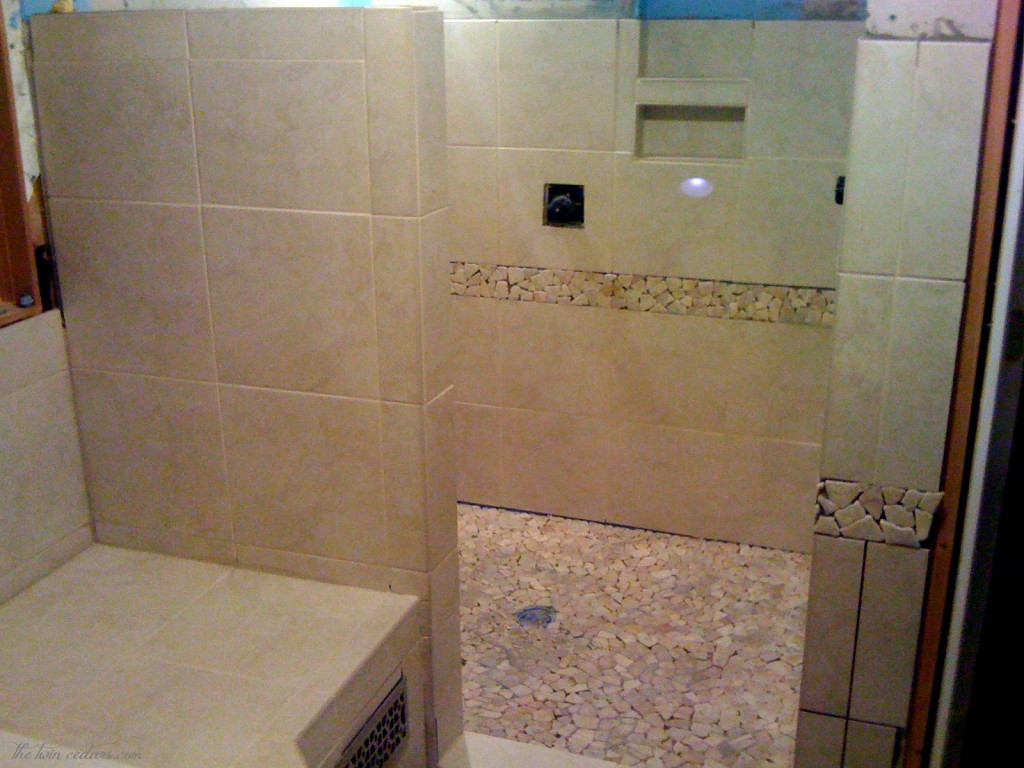
The makings of the walk-in shower. I really loved the idea of an open concept to this shower…brings in light and makes it function like a stall.
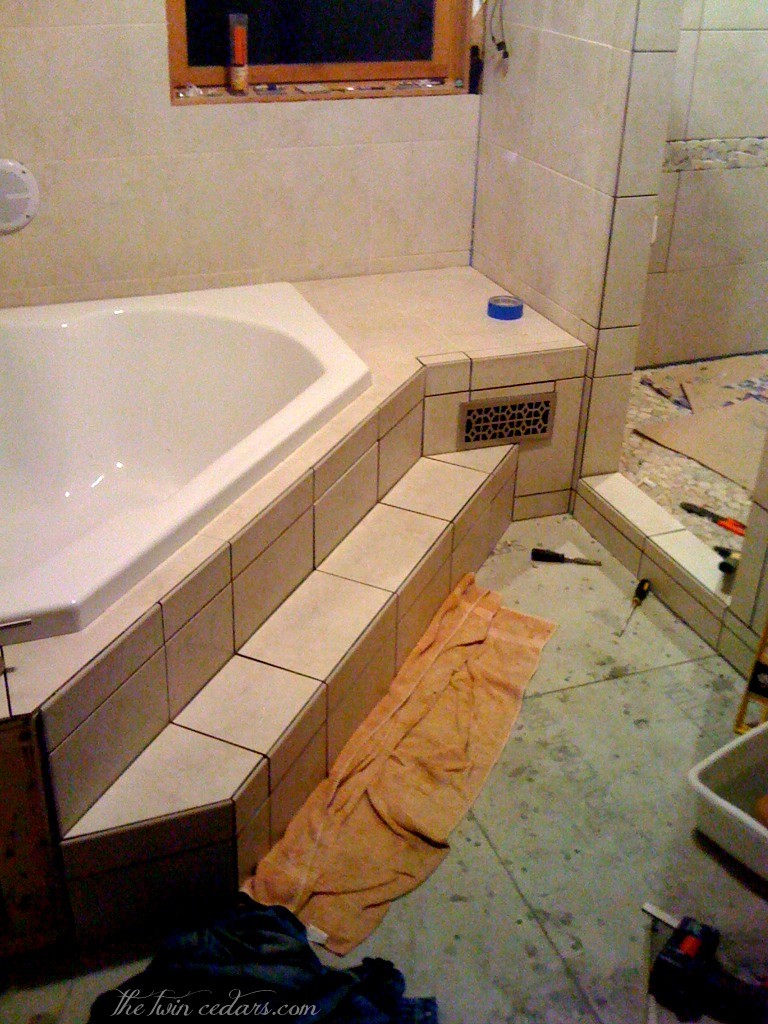
B’s first tile job was quite the learning experience. Thankful that my dad’s in the flooring business and there was a wet saw to borrow for this project…we went through a couple blades…
Water-proofing all of the seams. B always says do it right the first time…he’s right…don’t tell him I said that!
Making progress…you will notice many of these pictures are taken at night. B has been a vampire for many years now due to working the night shift as a police officer…work all night…sleep a few hours…get up and make a beautiful bathroom space before going back to the grind. I’m happy to report that he’s slowly making his way into the light and living now that he’s retired. And I must say it’s nice to have him home.
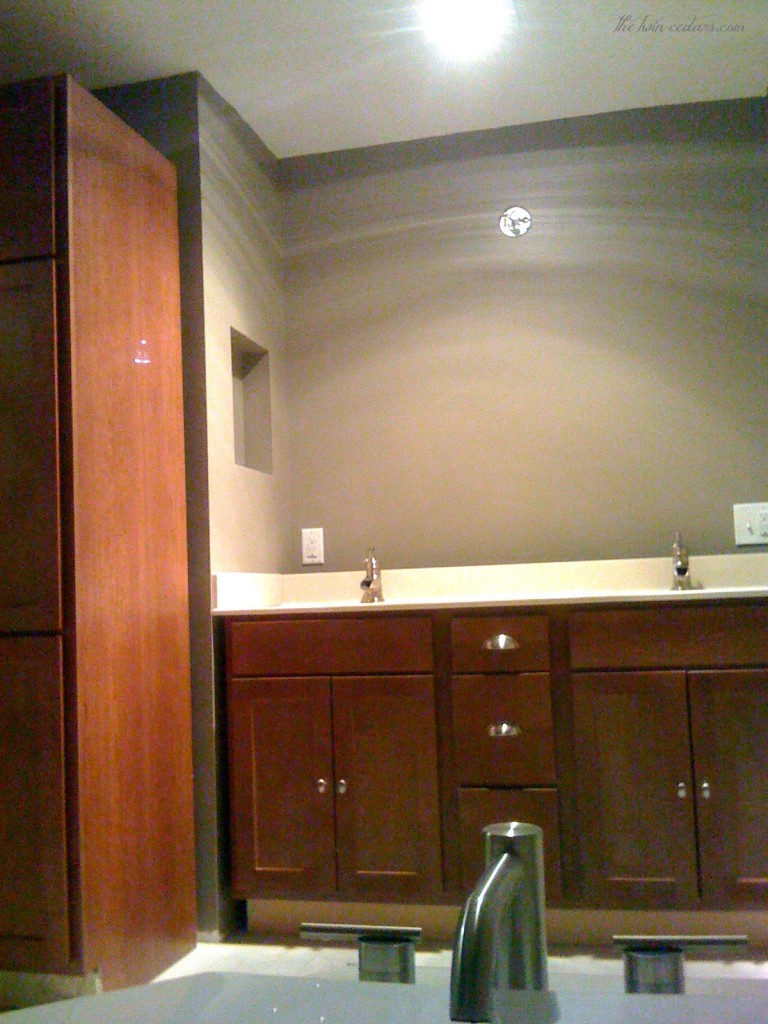
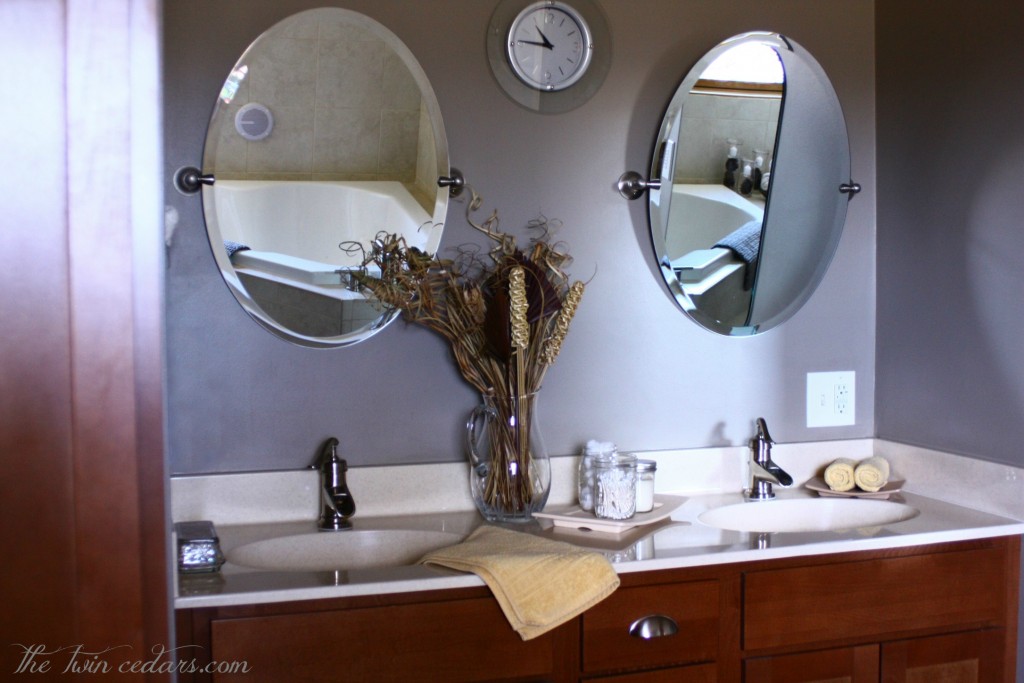
We primarily moved the vanity to this wall due to lighting. The window is directly across the bathroom, which made sense for important things like doing your make-up 🙂
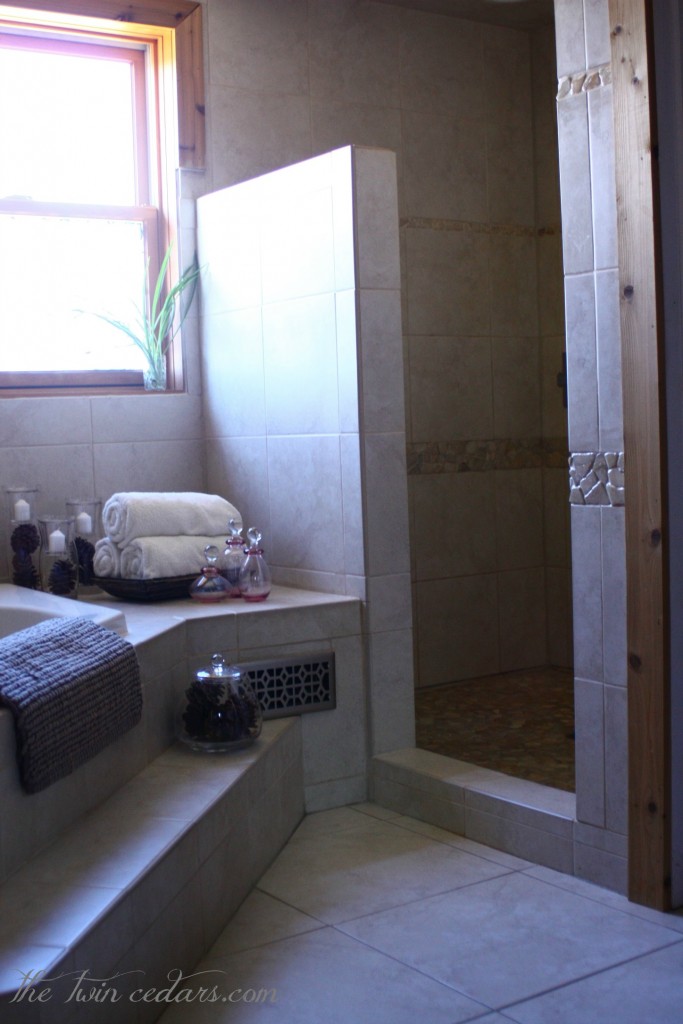
And for the afters…what we learned in the process…
Do: use a tile with a shiny glaze finish for easier cleaning (we didn’t in this bathroom, but believe me that will never happen again). When cleaning your shiny tile I recommend the microfiber Norwex wet cloth then dry with the window cloth – disclaimer: there isn’t one…I’m not an affiliate nor am I making money from Norwex – I just really like the products…but if someone wants to pay me I’d gladly oblige.
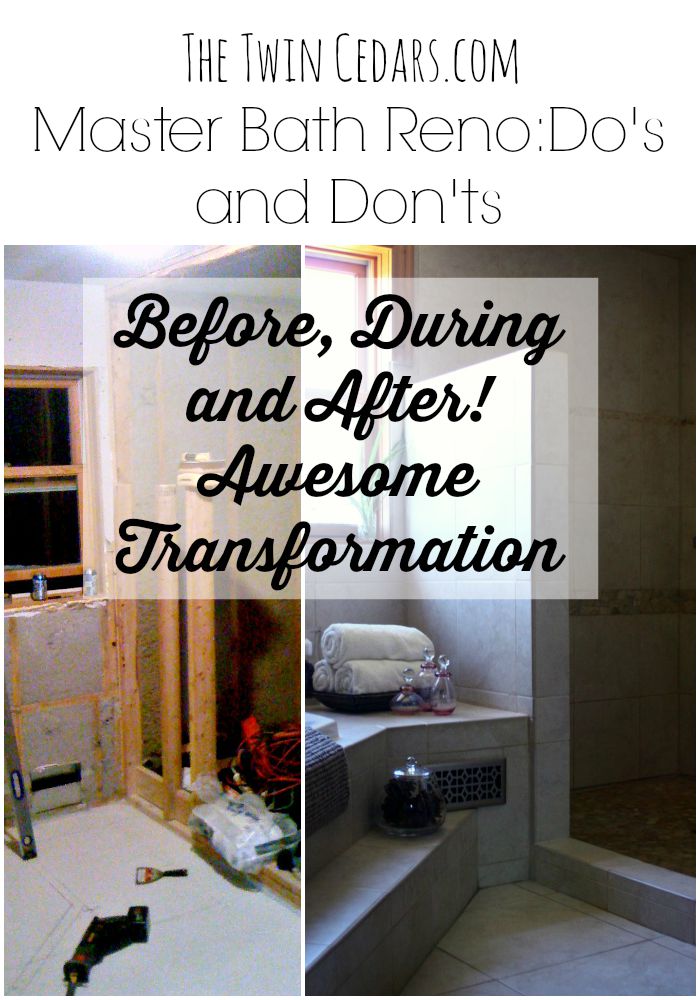
Master Bathroom: Do’s & Don’ts
Don’t: use really light colored grout…especially if you have hard water (a problem for many people living in rural areas).
Don’t: bother with a huge garden/jet tub. You will not use it as often as you think…and if you went as big as we did you’d need a bigger hot water heater…no really, it takes 2 fillings…and by the time that’s done your ready for bed.
Do: (and we didn’t here) spend the money you save, by not getting that massive tub, to purchase beautiful glass doors for your awesome shower.
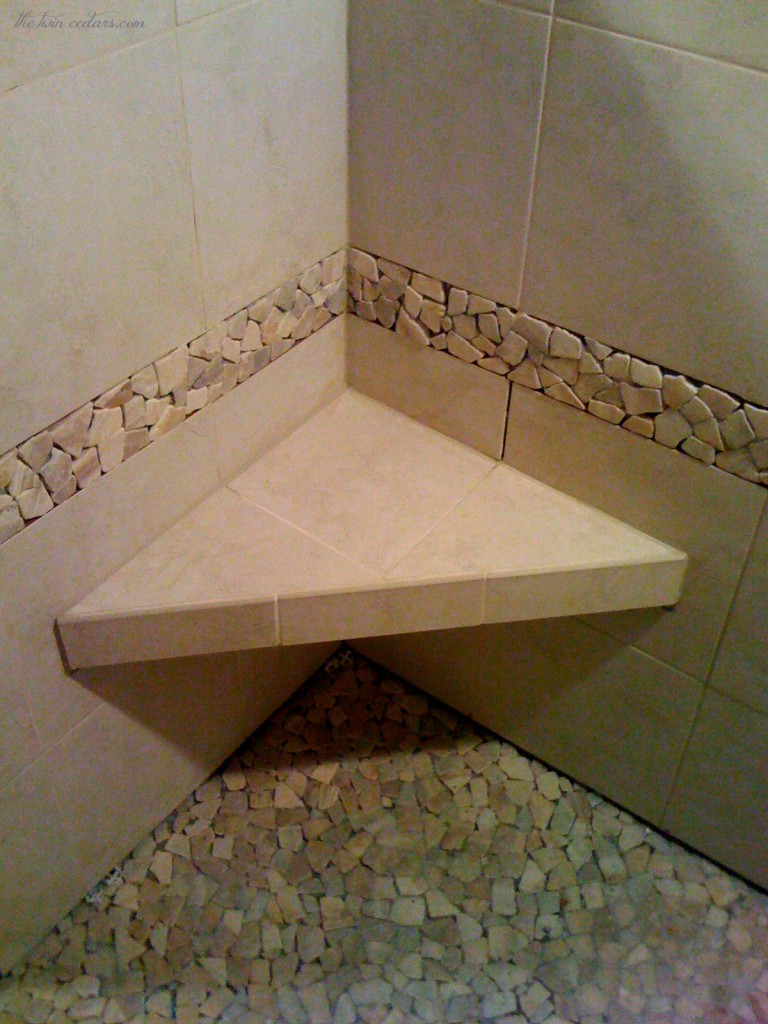
Do: splurge instead on a big walk-in shower with a bench seat. We don’t actually ever sit on it, but if it was needed it’s there and serves as a great little shelf.
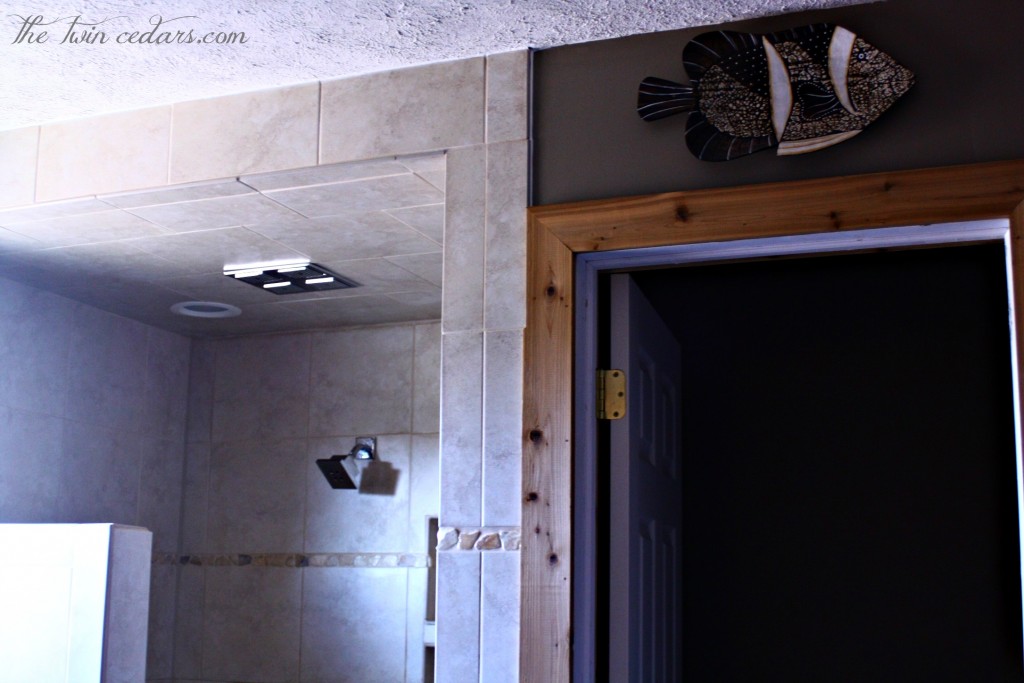
Do: have more than one shower head, but Don’t: bother with the rain shower head in the ceiling…again, you will not use it that much and if you have hard water it will just get clogged…a pain to clean!
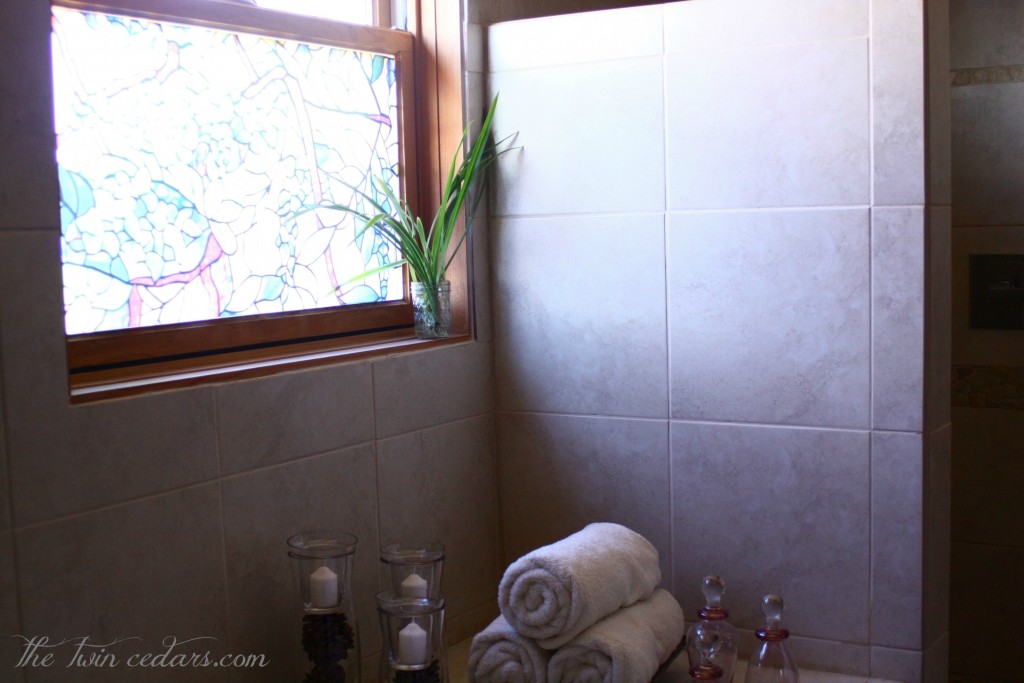
Do: consider an easy, inexpensive option for a privacy bathroom window. Use peel and stick faux stained glass. It allows the light in, there are many options to choose from and it’s easy to apply/change, with no holes to drill or special fixtures to buy.
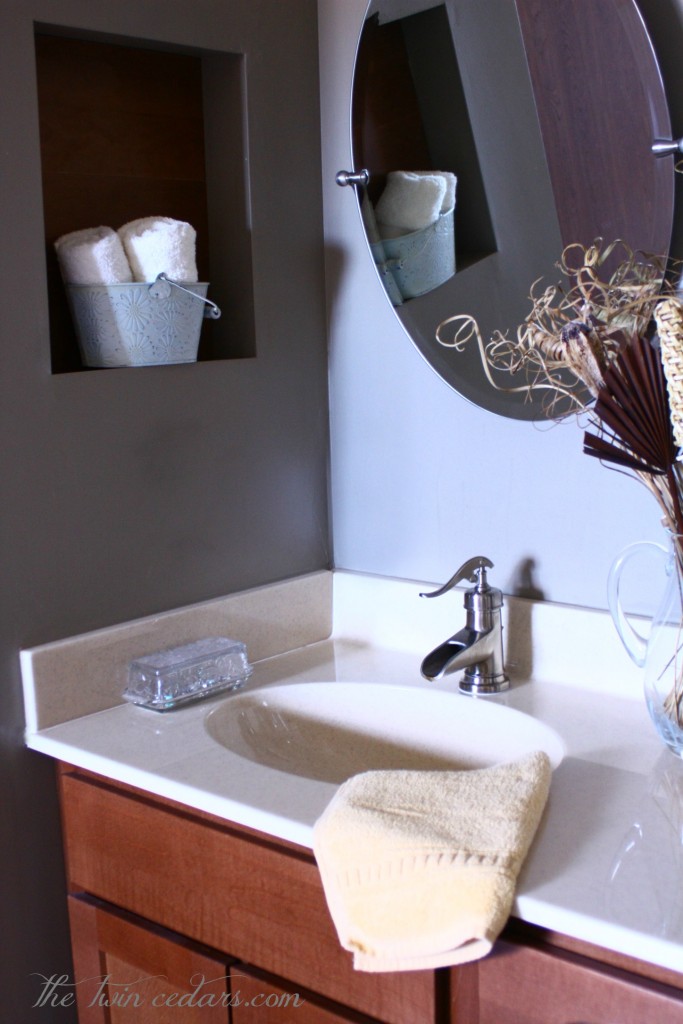
Do: create built in shelves on interior house walls…great use of space. Our resort house bathroom (that we will be moving to before we know it) is much smaller than this. We have a big job for a small space.
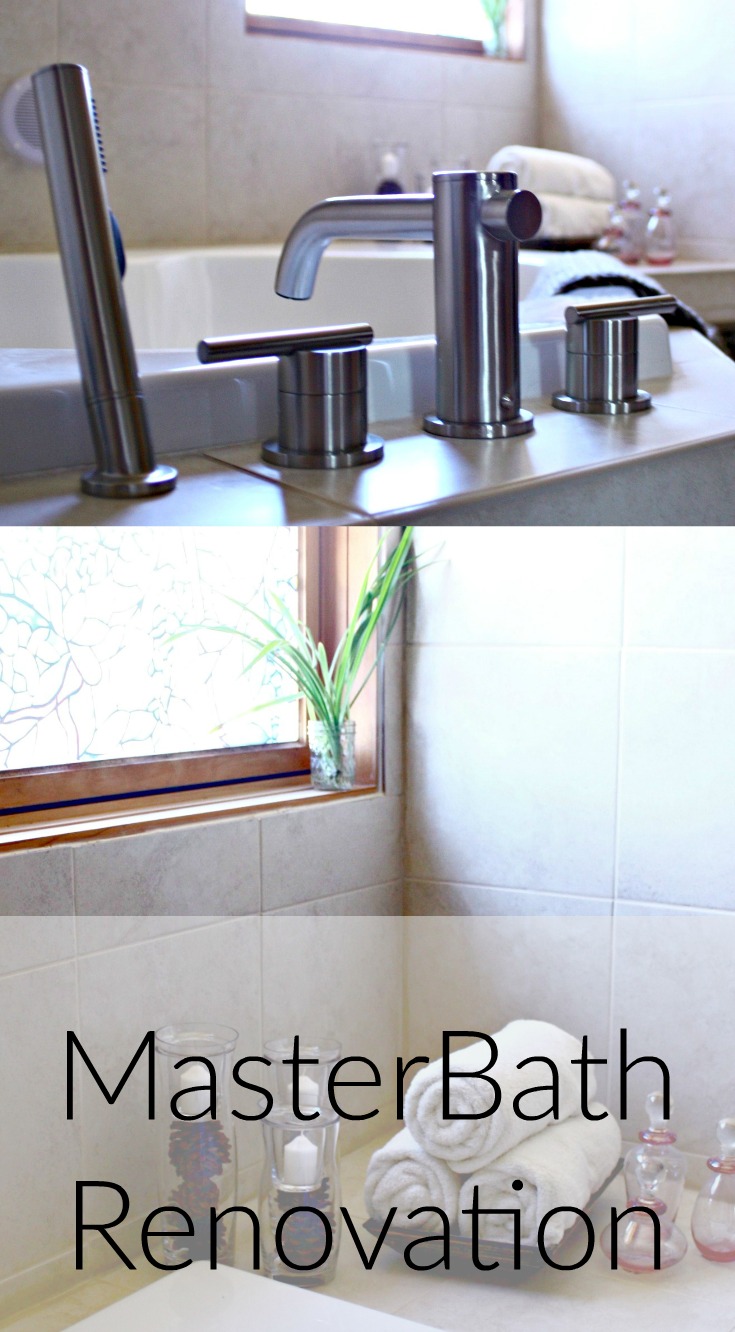
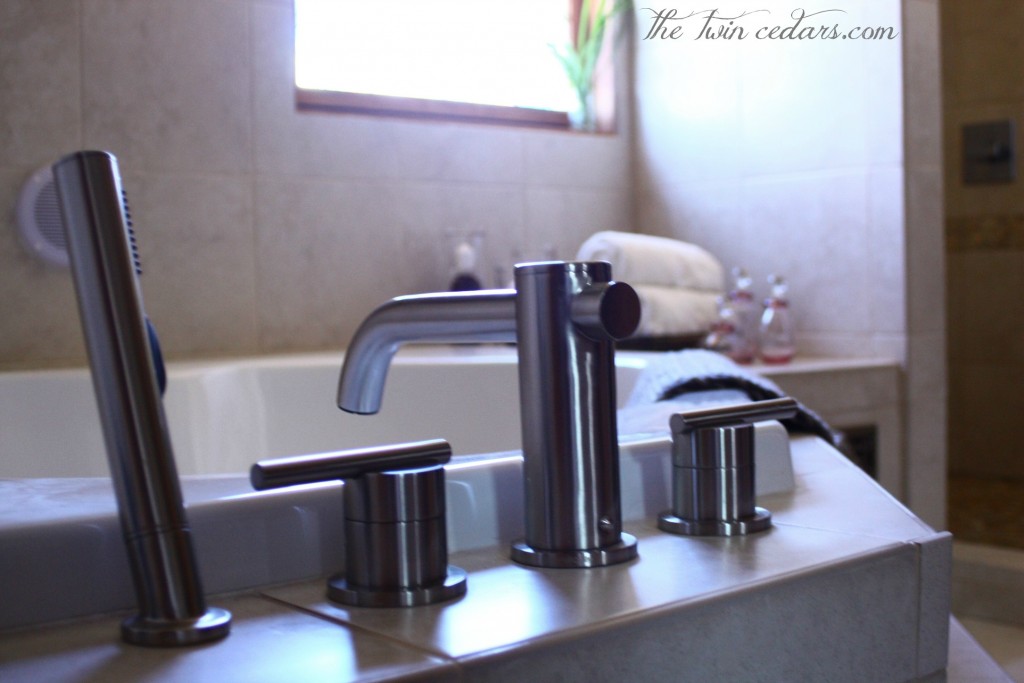
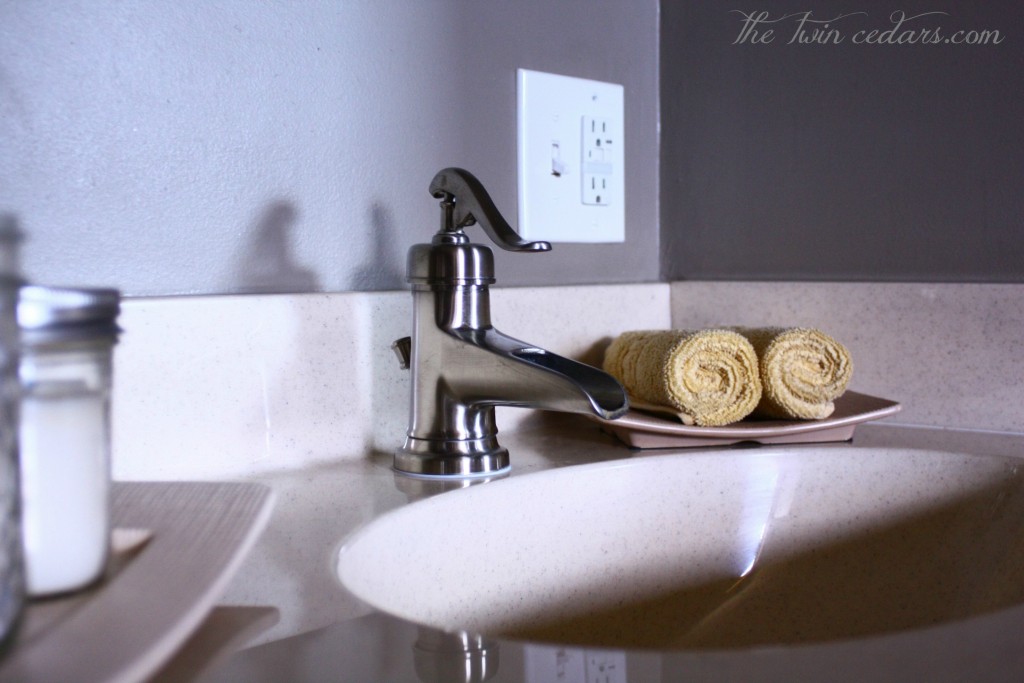
Do: spend a little more on classic faucets. I love these so much that I will probably put them in our next bathroom.
Do: put in plenty of lighting in multiple areas…vanity, ceiling, shower…but Don’t: let your husband put his foot thru one while insulating the attic…true story…
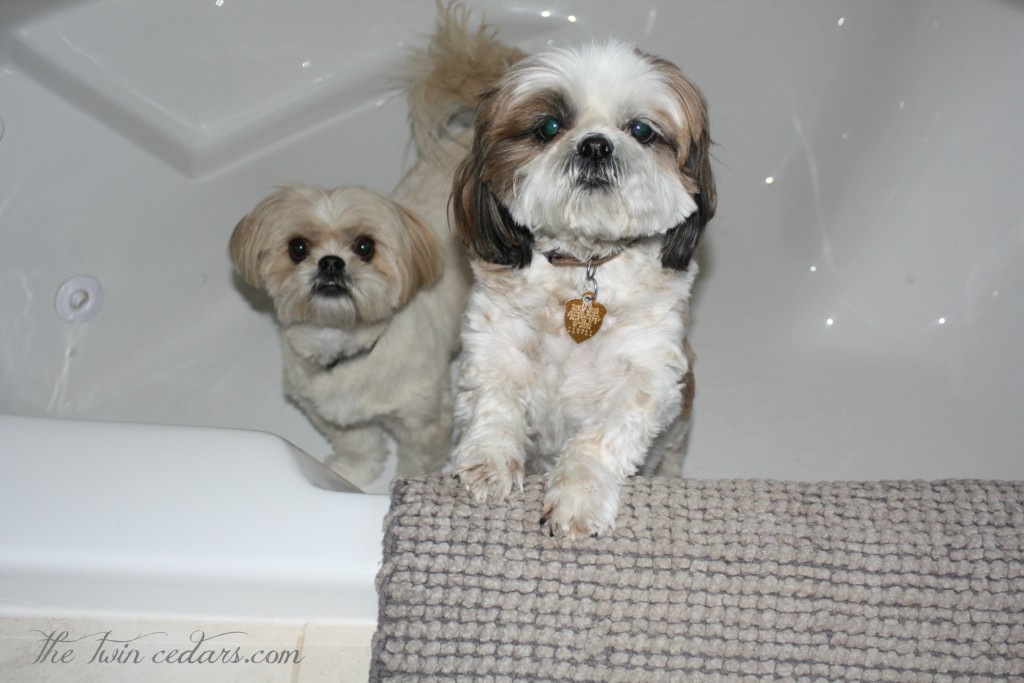
And let’s not forget Mr. D and the W…
Don’t: be like me and scare your dogs for a photo op (they hate bath time), but Do: give them treats for their cooperation.
I love beautiful bathrooms and can’t wait to start the one at our resort house. Have you completed a master bathroom renovation? Any good dos or don’ts to add? Comment below, tag me on Instagram or checkout the Facebook page and share your story.

What a transformation! Love the tile you picked out- and that little nook with the bucket/towels is so cute!
Thank you Meg – I am going to miss this bathroom, it’s like a sanctuary. btw I’ve had that bucket so long I can’t even remember where I got it, but I love it.
Love the look of your bathroom. Having just completed ours I agree with your do’s and don’ts. We went for the same shiny tiles on the walls and floors with no feature tile to date the bathroom. Pale grey grout Is a definite as the home will eventually become a rental property and this looks better over time. Spending the money on nice tapware is also worth it. We also went for a small free-standing designer acrylic bath, it Was slightly more expensive but really adds a wow factor.
Thanks Carrie – yes we definitely learned a lot during this process, kind of nice knowing we’ll do it again soon in our new house and apply those lessons. I completely agree with not doing feature tile and grey grout is so classic.
You did a great job on this bathroom, I love the tub and shower!
Thank you so much Nicki! Now if only we had a chance to use that tub more, but with all the space we had, it makes a great focal point.
I love, love, the finished results. We plan on redoing our bathroom so this article couldn’t have come at a better time. Pinning!
Thank you Yanique! Yes we certainly learned a lot from this process and will be utilizing it for our next bathroom remodel. I’ll be looking forward to sharing that one too. Keep in touch so I can see your progress 🙂
I’m in the middle of renovation work in my home and I can relate to your points here. Thankfully, i’m not doing the work myself.
We are in the midst of redoing out bathroom right now! … aka there is now only one bathroom that’s all the way upstairs the downstairs bathroom looks like your before pic 🙂 This is so beautiful! I LOVE the faucets!!
Thank you Leigha! I can definitely relate to having only one bathroom – this house has 4 now but when we started renovating we only had one working shower and had to use a different bathroom for the sink.
Looks awesome! Love the pebble like title. Is that easy to clean? We do use our garden tub a lot and have the same problem with the water. We did turn our water heater up a little and it does help. I do not fill it all the way though. I would LOVE to have a walk in shower with NO doors. I dislike cleaning shower glass and or/doors with tracks!!! Awesome job!!!
Thanks Sara! I actually fell in love with the microfiber cloths from Norwex. I have a shower in the basement bathroom with great crystal clear doors and those cloths work like a charm. The pebble tiles are a pain to clean if you have hard water…I know this would go against all of the “green cleaners” out there, but Iron Out works very well.
What a transformation! I love how the bathroom looks. The tiles are awesome and also the faucets. Thanks for sharing the tips and ideas!