I knew which lamp I would redo and that I wanted it to be rustic but didn’t really figure it all out until…
This post contains affiliate links. This means that if you click through and make a purchase, The Twin Cedars may receive a small commission at no additional cost to you…we appreciate your support. Full disclosure here.
Anybody else have a fitbit? I swear ever since a friend of mine – you know who you are – has invited me to the “challenges,” I feel like I’ve been getting some serious steps in – even though she kills my weekly step stats, Every. Single. Time! The good thing? I have more energy and feel good. The bad? I think up all kinds of crazy ideas that make me look even crazier to some of my neighbors.
Let me explain…
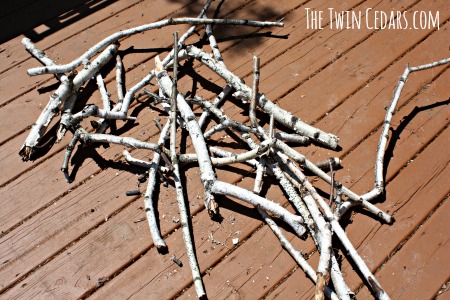
While out on a fabulous walk with Mr. D and the W the other day, exploring trails that I didn’t know existed, I came upon a pile of birch branches…like amazing white, rustic beautiful branches. I knew I would soon return to obtain the loot.
I’m not sure why I thought taking both dogs along on this part of my forest foraging was a good idea, but I was in it to win it and I wasn’t leavin’ till I had enough. Which I’ve become to realize that, what I thought may have been too much, was just enough.
Tip #1 – get more than you think you need.
I’ve never seen so much traffic down that little dirt road. Here I am with both arms rapped around a huge bundle of branches, two dogs in tow that do not follow any sort of pace (with me or each other) and a fresh hatch of mosquitoes matching my every move – so…to the nice people in the van that waved, sorry. I really wanted to return the gesture but you understand, right?
No Cost Lamp Revamp
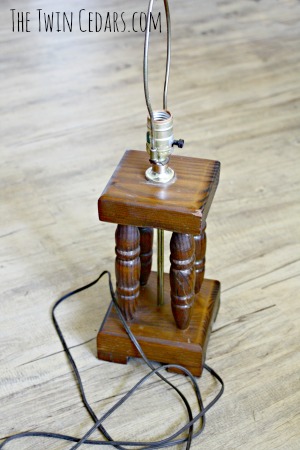
Start with a sturdy lamp. Square or round with fairly straight lines is best. We recently found this one in the bait house amongst many other interesting things – which I will share…eventually.
When you practically have a thrift store in your backyard there’s no need to make a special trip, ya know?
Tip #2 – prep your branches. Use one of these to cut them to size and remove small twigs. Next use a dry cloth to wipe away any loose pieces of bark.
Did I mention this was a slightly messy project? I suggest picking a nice day and take it outdoors.
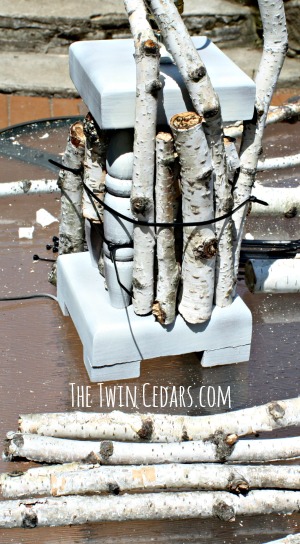
I spray painted the lamp with a bit of white that I had on hand to blend with the birch. Use your judgement depending on the branches you’re using.
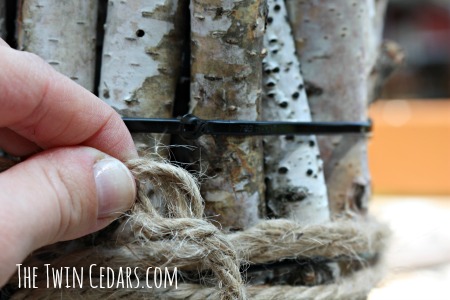
Tip #3 – zip ties…I would’ve preferred some sort of adhesive…any adhesive…but when you’re doing a no cost lamp revamp you use what you have, so zip ties it is and they are pretty much awesome!
Here’s where it becomes a bit of a puzzle. If you enjoy a small challenge then do this project yourself…I did. But having another couple of arms on hand would be beneficial. Go-go gadget extra arm! – anyone remember Inspector Gadget? I loved that cartoon!
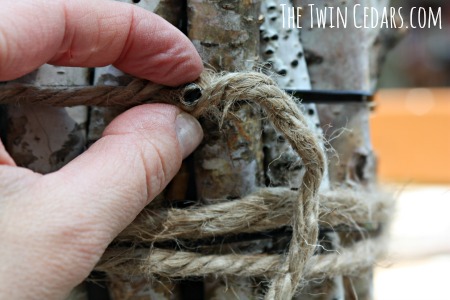
I had a little rope/twine already from this lamp project. It’s easily manipulated to cover those ties…
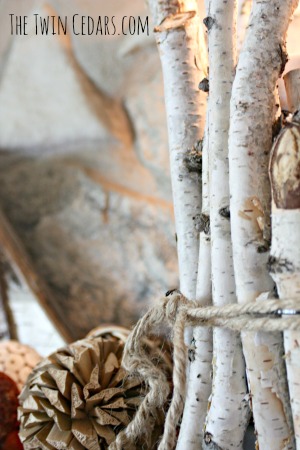 Isn’t that mirror fantastic? Thanks Mom! It’s great in this spot.
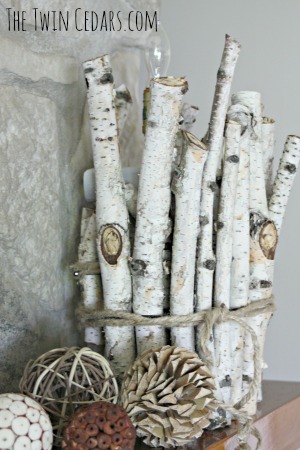
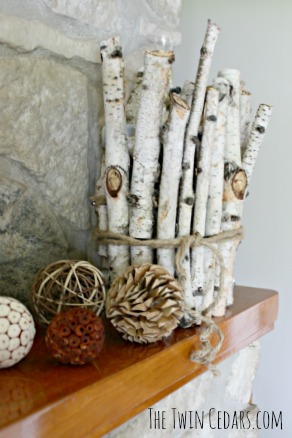
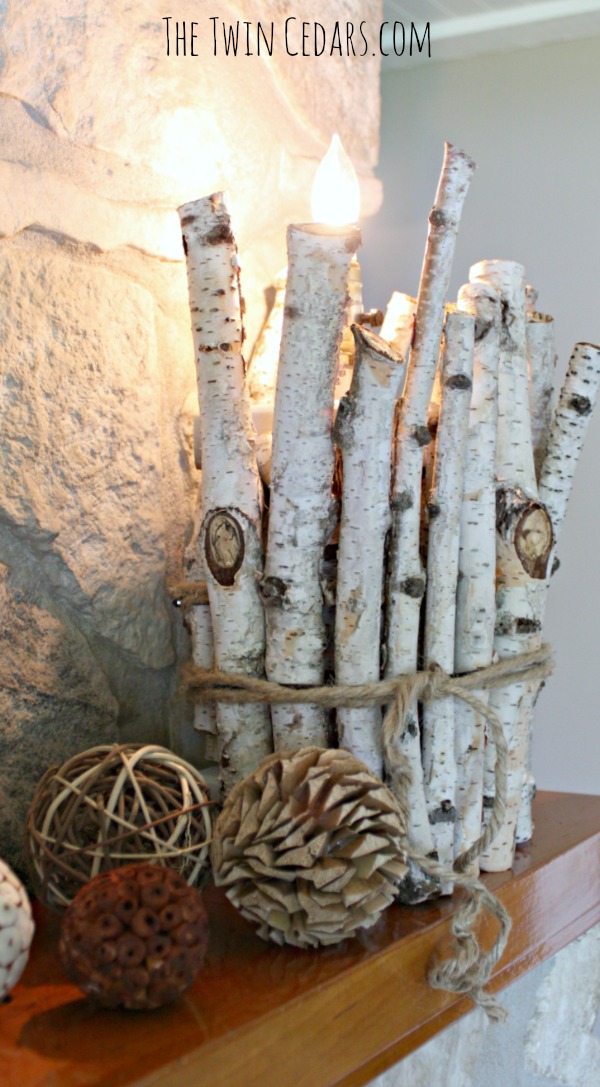
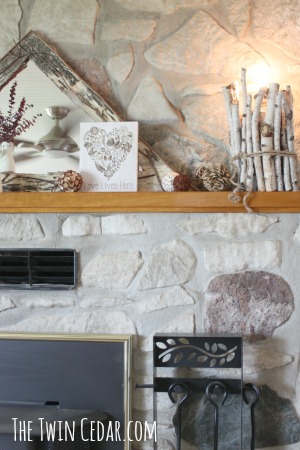 As soon as I started this project I knew I wanted to leave the lampshade off. I love the different heights of the branches and really wanted to keep that part visible. It’s actually pretty much perfect for a mantel…if I may say so.
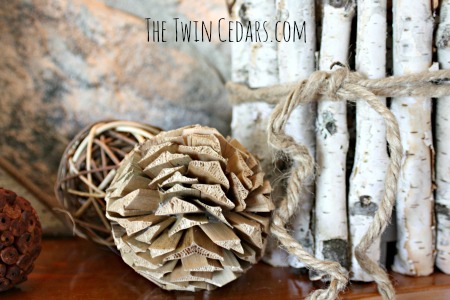 We inherited a lot of light bulbs when we bought the resort. I’m diggin’ this one because #1 – it’s clear, so when the light is off it simply looks like a decorative piece and #2 – I love how it glows when lit. Warm , inviting, almost candle light…
I actually didn’t realize how Christmas-y this looked until I started preparing the photos…think I’ll add a few spring flowers and share on Instagram soon…follow along!
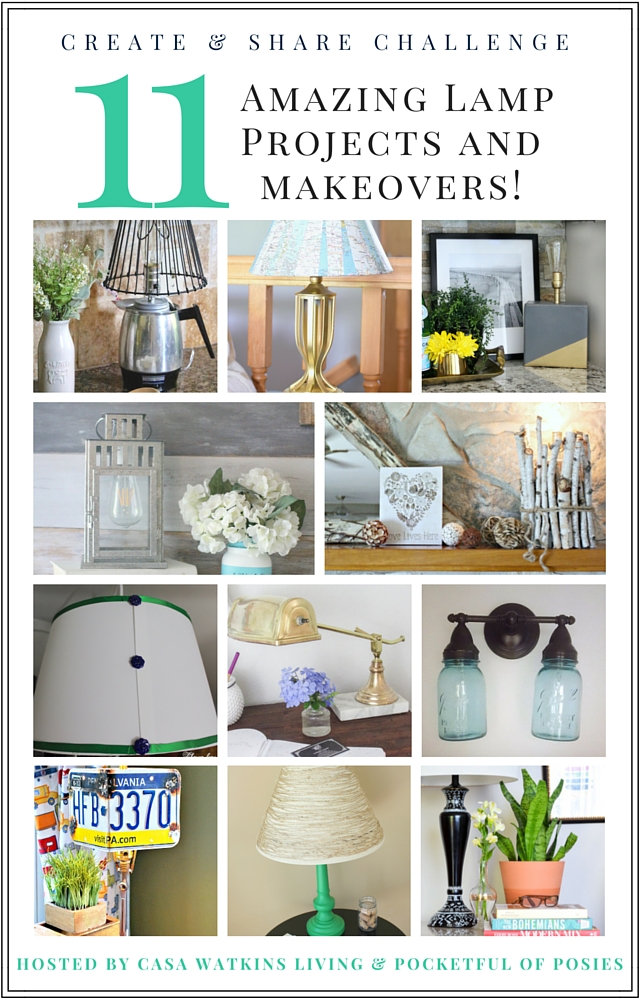
Lamp-alooza! – Create & Share Challenge
Thank you so much to Stephanie @ Casa Watkins Living for another fantastic Create & Share Challenge! Be sure to click around and check them all out!
Casa Watkins Living: DIY Mud Cloth Lamp
Pocketful of Posies: Vintage Desk Lamp Revamp
Lehman Lane: DIY Hanging Light
One Mile Home Style: DIY Golden Atlas Lamp
The Twin Cedars: No Cost Lamp Revamp
Lovey Etc: DIY Lantern Lamp
This Is Our Bliss: DIY Color Block Lamp
Green With Decor: Old Lamp Update with Twine
DIY Beautify: Light Fixture Makeover with Mason Jars
Creatively Homespun: DIY Car Parts Lamp
My Life From Home: DIY Coffee Pot Lamp
Check-out my Create & Share projects from the past:
- Chalk Paint Furniture Flip
- DIY Lazy Susan: Walnut Hollow
- Rustic Wood Wall Art
- Mini Planter Re-Imagined


What a unique idea! This turned out great! My hubby will love this one! 🙂
Yeah mine was a little leery at first but I think he’s diggin’ the rustic vibe. Masculine but feminine at the same time.
Ok, this is just beautiful! I would never have thought to do something like this. It looks perfect on your mantel. Great job!
Thanks Amy! I’m thrilled with how well it turned out 🙂
Cute cute! I love birch branches and it looks really great on your mantle! Thank you for joining in! Pinning!
Cat
Yay thank you so much Cat!
This is so unusual and cool, I love it!
Thanks Cindy! I’m glad you like it 🙂
How unique is this?! What an awesome look – I love it!! And I’m always on board with a no-spend project 😉 – Rachael
I couldn’t agree more Rachael! Thanks so much for stopping by the blog 🙂
You’re so creative, this looks great! I love those branches!
Thanks Meg!
Your lamp is so fun Meghan! I love the idea of using the birch branches!!!
Super cute!!! I just love how this turned out. AND FOR FREE!! Its even better.
Thank you so much Stephanie! Love these challenges, you are awesome for putting them together!
Awesome looking lamp! So creative and inexpensive. Can interchange the bulb too since you’re leaving it exposed. Looks great on your mantle with the birch mirror too.
Thank you so much Anna! I’m so happy you stopped by the blog, it was really good to see you around the resort and in my neck of the woods too 🙂