It’s been a bit, huh? I swear to you guys posts will come more frequently when we’re a little more organized…which may be soon…or never…but I’m determined and at this very moment so excited to share February’s Create and Share Challenge with you…A chalk paint furniture flip.
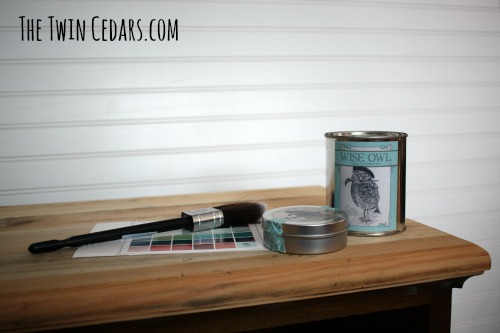
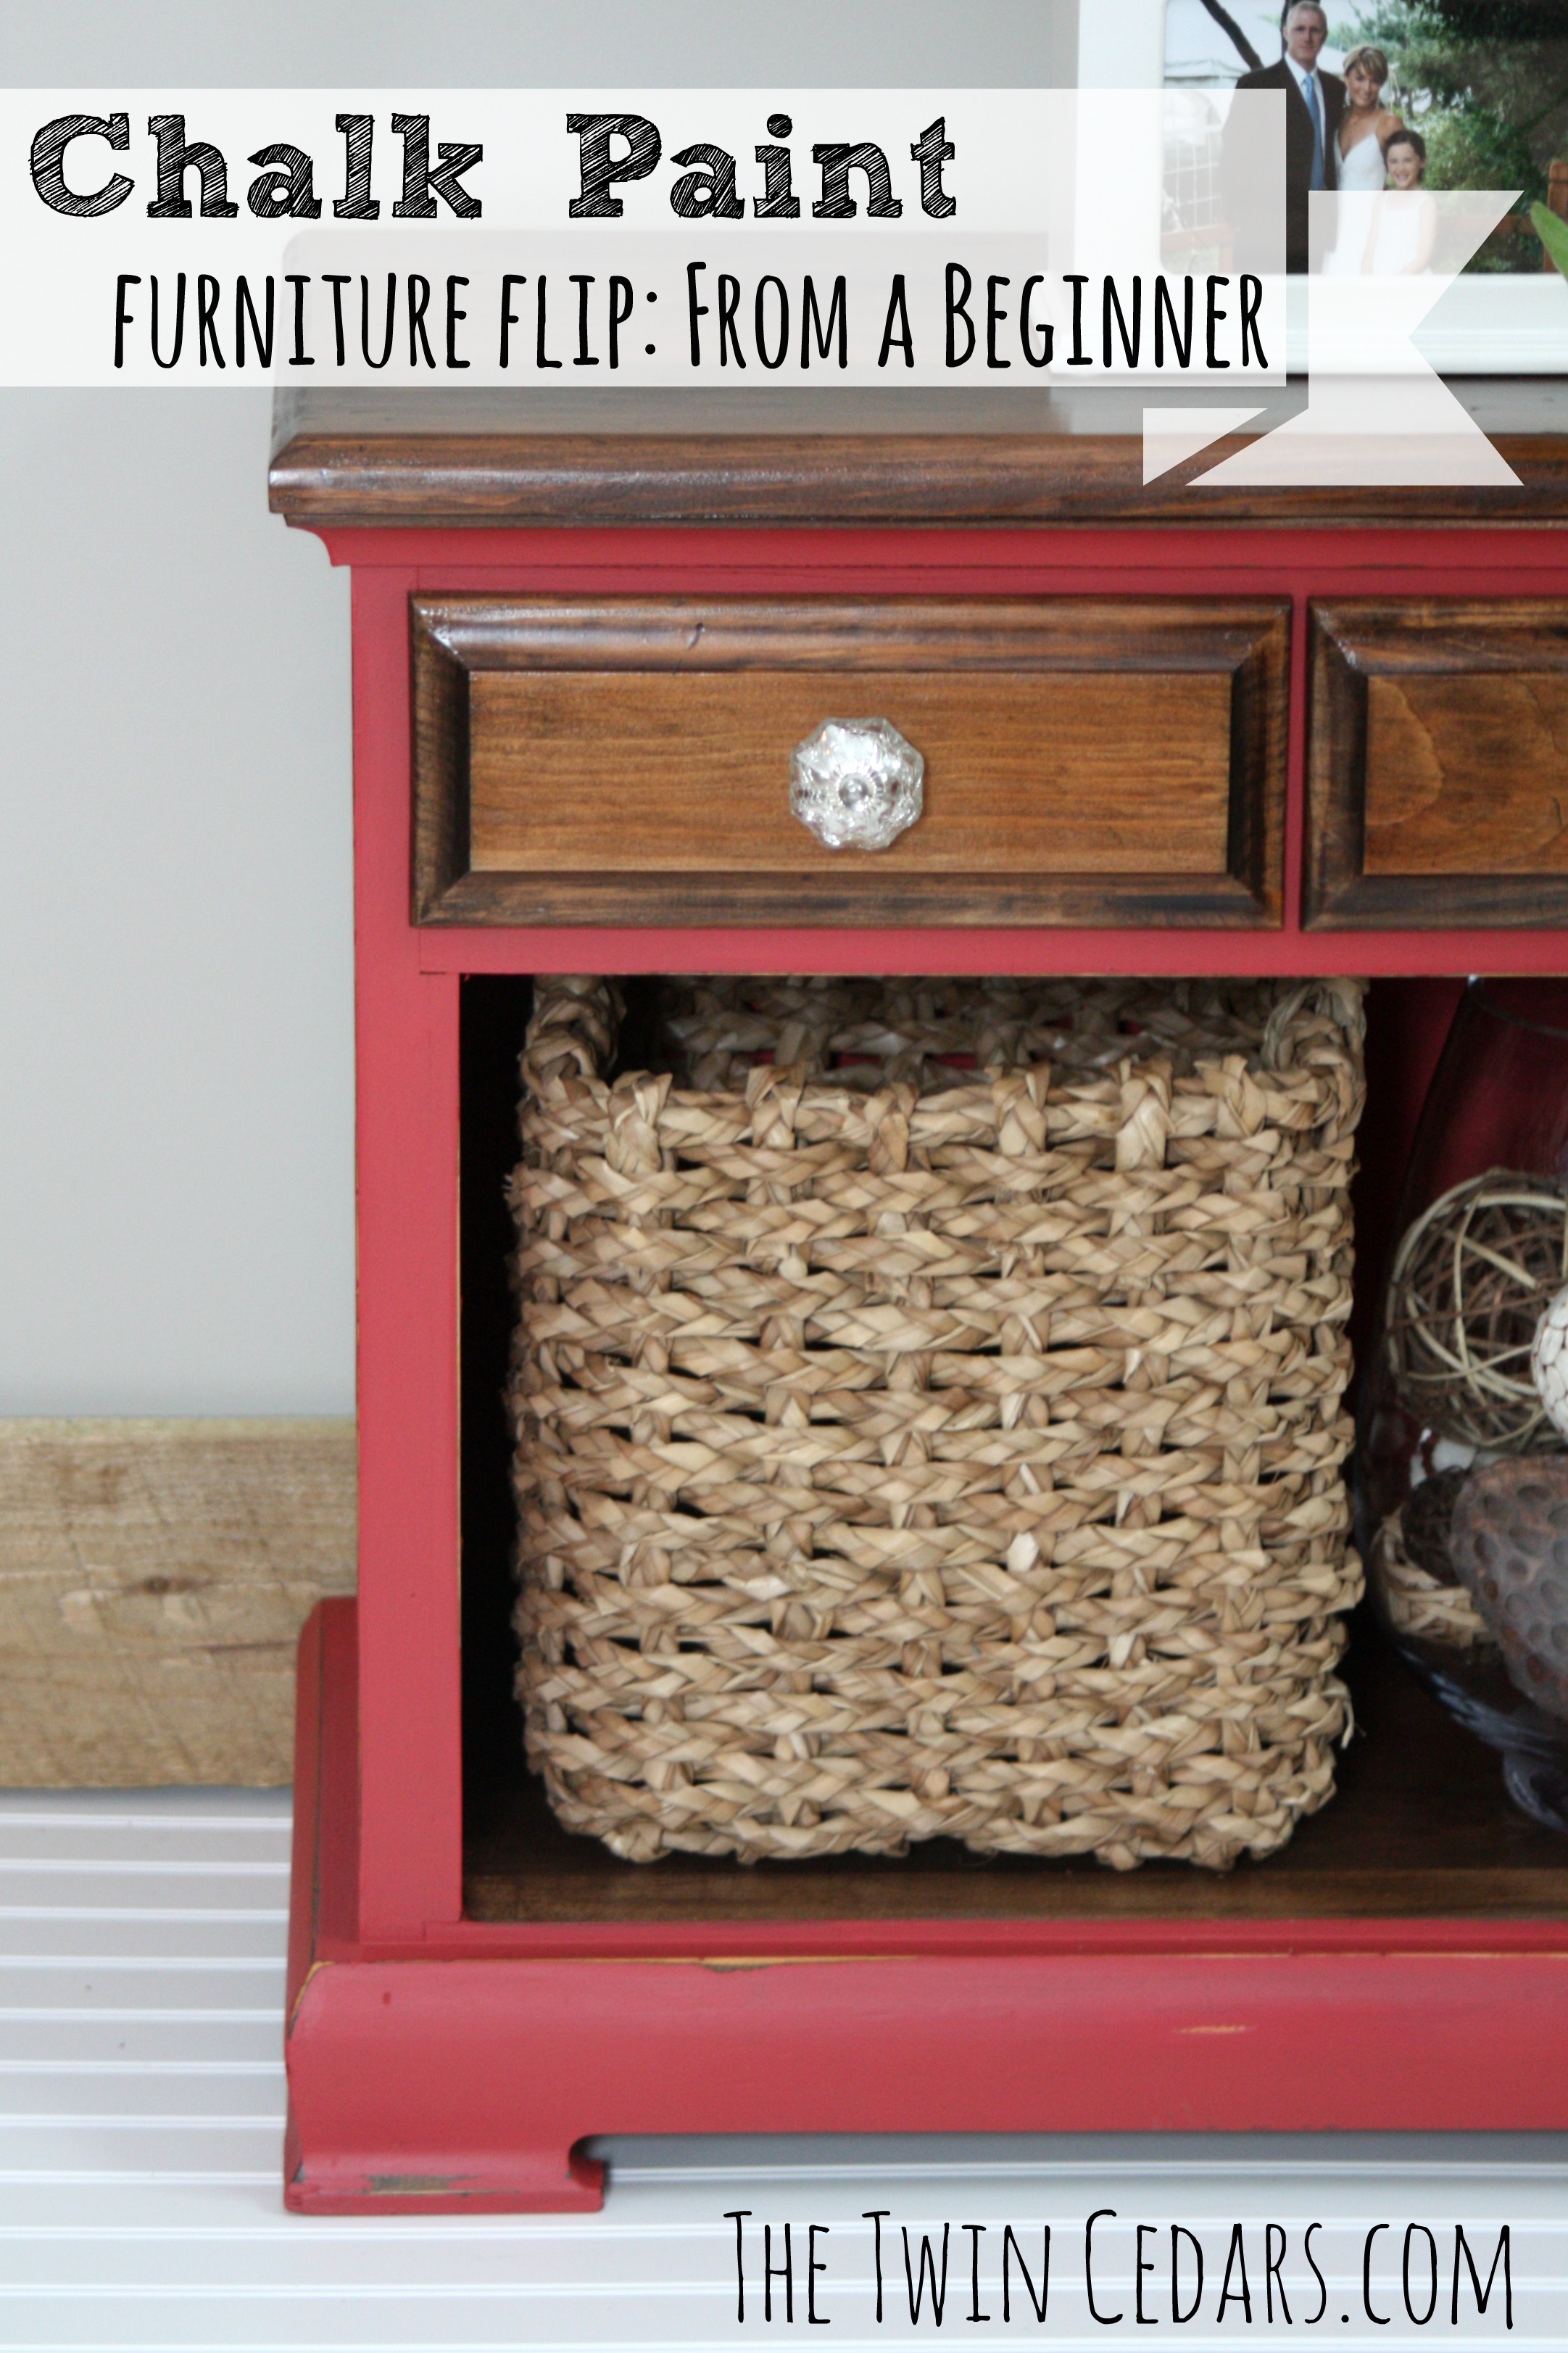 I was provided the paint, finishing wax and the brush used to complete this labor of love. I supplied the elbow grease, rescued end table, design concept and opinions! All of which reflect my own point of view, regardless of sponsorship…
This post contains affiliate links. This means that if you use them The Twin Cedars may receive a small commission at no additional cost to you…and we appreciate your support. Full disclosure here.
This is very likely my most favorite project yet that I’ve completed solely on my own. Which really says a lot because we all know that Bob is the main force behind the projects that are posted here.
Our sponsor for this project is Wise Owl Paints, a Michigan based company – which of course I think is the greatest thing! Yay for the Great Lakes State!
Wise Owl is so gracious to offer a Giveaway to our readers! Woohoo! a Rafflecopter giveaway
For this project we were able to choose our paint color and, of course sticking with the Twin Cedars Resort theme, red was at the top of my list, although there are many to choose from…and I’m already eyeing my next victim 😉
Since this is my first experience with chalk paint here are a few pointers I found helpful.
Chalk Paint Simple Tips for Beginners from a Beginner
- 24 hours before you start your project turn the can upside down to redistribute the contents.
- Open and stir…stir…keep stirring…and stir some more. I was not expecting the chunks on the bottom but they did dissolve back into the product.
- You will need 2-3 coats of paint for full coverage so plan accordingly. Red and white are the most common chalk paints that require 3 coats.
- If you must do 3 coats then lightly sand between coats 2 and 3. This helps with ridges, bumps and an even cover.
- Chalk paint projects may take longer than you think due to the many coats and waxing – which is a workout.
- Although tip #5 is true, you do save time by not needing to completely strip and sand the area you are painting with chalk paint.
- If you use a good brush and a steady hand you won’t need to tape off areas of the piece that you aren’t painting. I absolutely love the brush (small flat f30) Wise Owl provided for this project!
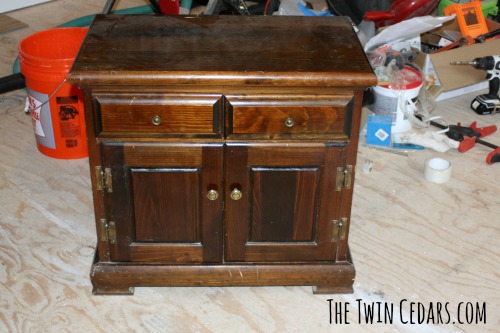
Before
Let me just put this out there…this was a very involved piece and design I chose to do for my first time. Would I change it? Absolutely not! I love the way it turned out!
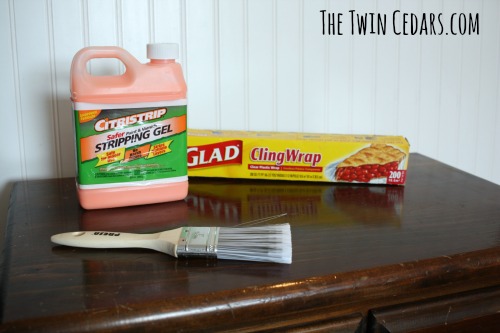
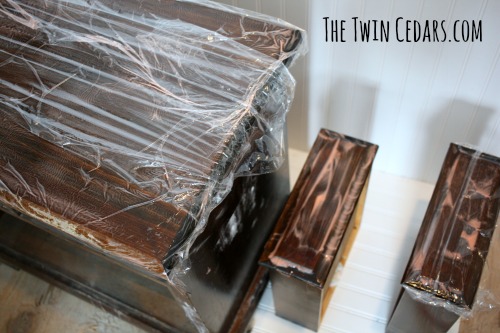
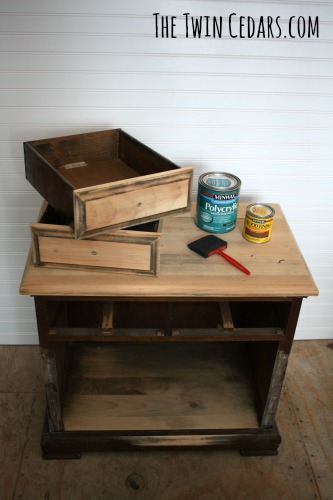
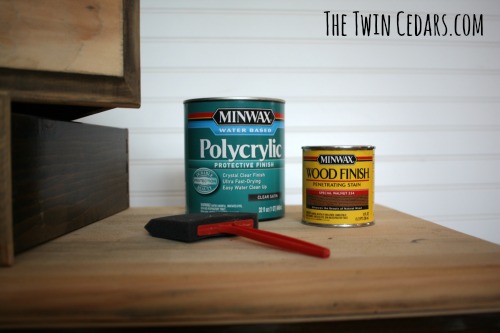
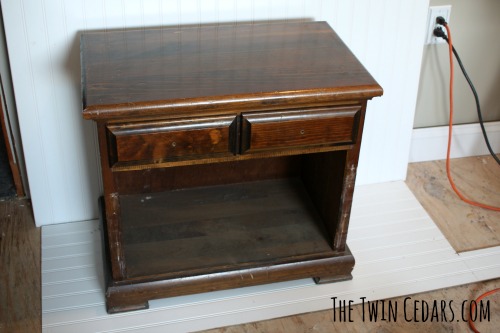 Using Citri-strip, strip the areas of the piece you do not want painted. I chose to re-stain the top, inside “floor” and drawer fronts.
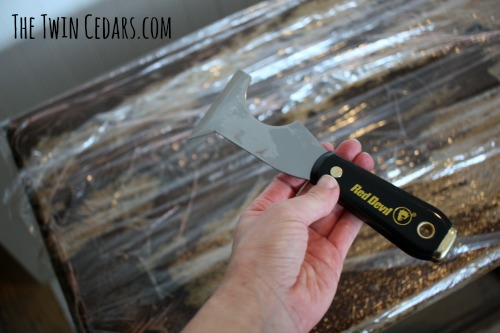 I feel like this stuff works great for the varnish but you will still need to put in a little elbow grease to remove the stain. For this I used this scraper and an electric hand sander – exactly like this one – not the top of the line but works for a small project like mine…and especially good for first timers.
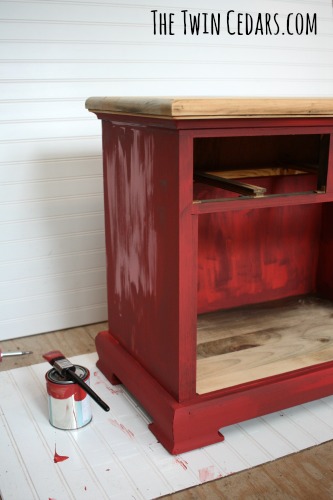
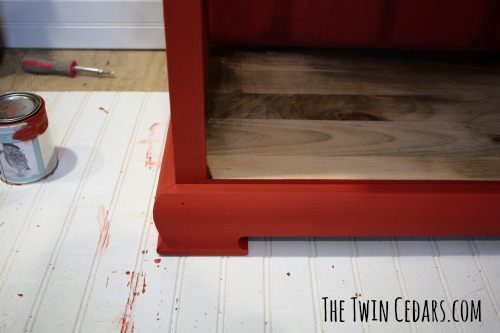
During
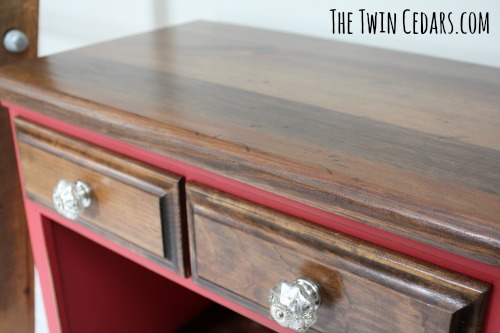
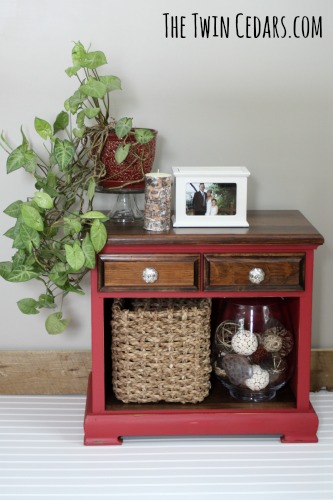
After: Chalk Paint Furniture Flip
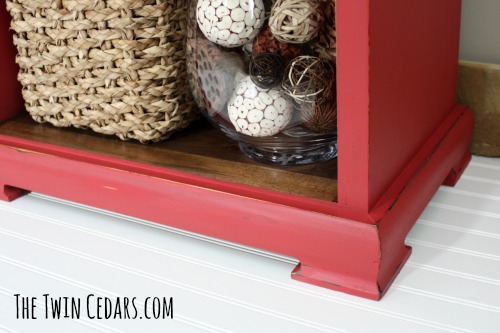
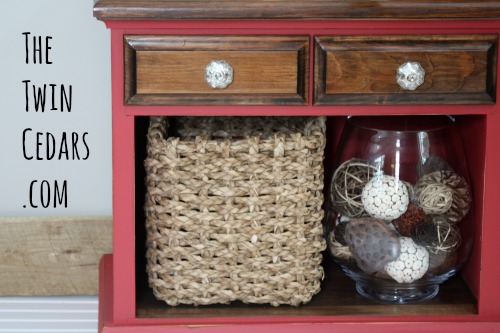 I was really nervous about distressing. I mean you put in all that hard work of painting then go chipping away at it with a sanding block. I think Bob was about to have a panic attack. He kept saying, “you missed a spot…are you going to repaint that chunk?”
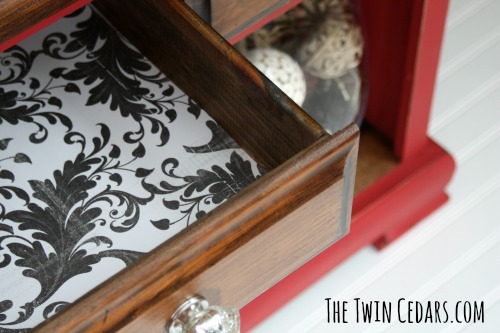
 A sweet little surprise? Line your drawers with a cut-to-fit scrapbook paper.
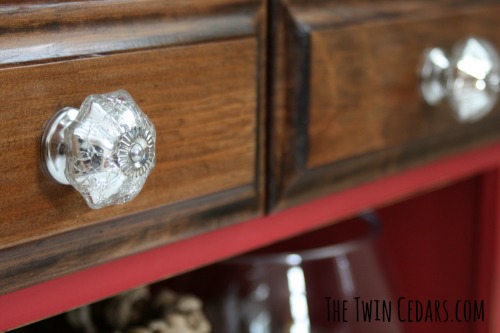
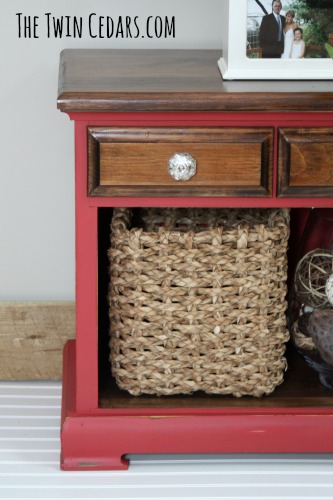 I used Antique Red for this end table and must admit that when I first opened the lid I thought it looked really pink…almost fuchsia. Hence so much stirring! But it worked and I love it! I will be planning some more future furniture flips…I feel an addiction coming on!
Some links I found helpful for my first adventure into the chalk paint world.
- How to Paint Furniture using Chalk Paint from Confessions of a Serial DIYer
- The Beginner’s Guide to Distressing from The Thinking Closet
- When to Prep Before Chalk Paint from Canary Street Crafts
 Thanks to Stephanie at Casa Watkins for another awesome Create and Share Challenge!
Want to see more?
Follow me on Pinterest!

This turned out so good, Meghan! Love the paint/stain combo and the pretty paper you chose for the drawers. Thanks so much for sharing my When To Prep Before Chalk Paint post too. I have a feeling this won’t be your last piece, because like you mentioned, it’s totally addicting :).
Absolutely Amy! And what a pleasure to use your post it really helped me, thank you!
Meghan your table looks great! I love the red! Thank you for all the wonderful tips! I’m pinning your project!
Thanks Cat! And I gottcha pinned right back 😉 your new dining table is fantastic!
This turned out fantastic, especially for your first go at chalk paint! And I hear ya about taking the sander to a perfectly painted piece, but that gets easier. 🙂 Thanks for the link back, much appreciated! Pinning. XO
I’m flattered Christy, thank you! Your blog and projects are incredible!
So Awesome! Good tip about stirring! Cold temps can cause minerals to fall from the paint suspension, one of the reasons many paint companies do not ship during the winter months. Luckily it will reincorporate back into the paint and you are ready to paint! You did a wonderful job!
Wow! Thank you so much Karen! What a great compliment. Good to know about the cold weather, I have no doubt that played a role in these Michigan winters 🙂
Your little flip turned out beautiful and I love that antique red, gorgeous color, I’m loving the stain and paint together. Great job.
I would love to win some good quality chalk paint.
Thank you so much Patty!
What an impressive flip for a “beginner”! I love how you tackled stripping and painting – most people don’t want to give that a go until much later. It turned out beautiful!
It was definitely an involved project! I probably should’ve started easier but I feel like I learned a lot from it. Thanks for stopping by the blog Jenny 🙂
The first piece I ever re-did I also stripped the top and stained it. A lot of work to say the least, but now I feel like I have such a better knowledge of re-doing furniture. Your’s turned out great! Love the color combo.
Definitely a lot of work! I think my next piece will be completely covered though…Thanks Katy!
nicely done! I love the stain you used!!!!!!!
Thanks Jessica!
Wow! What a transformation Meghan. I love the red, it’s looks great. Our reds looks so similar I wouldn’t have guessed they were different colors! Have a great weekend and take care, Tara
Yes Tara, I was thinking the same thing 🙂 Loved the chest you painted!
WOW! I like what you did with this piece! Well done! I like the paper inside as well … I think a piece should be just as lovely inside as the the outside! I hope you have a great weekend!
Smiles!
Terry
http://thecuratorscollection.wordpress.com
Making Broken Beautiful
Thank you so much Terry! Completely agree! So glad you stopped by the blog 🙂
Your piece turned out great! I love that you kept the wood on the drawers and painted the rest! Adorable!
Thank you so much Ruthie!
Beautiful Meghan! I love how you kept some unpainted areas. It really complements the dresser and the decor is spot on!! Love it. Pinning and sharing!
Yay Stephanie – Thanks for sharing! This was definitely a challenge and I had so much fun! Thanks for another awesome Create and Share 🙂 And thanks for stopping by the Blog!
I don’t normally decorate with red, but I absolutely love this rusty red color! I also love that you kept some of the natural wood on top, it looks amazing!
Thanks Amanda!