I was provided the graphic used to complete this labor of love. But I supplied the elbow grease, rescued wood, design concept and opinions! All of which reflect my own point of view, regardless of affiliation…
Rustic Wood Wall Art
I’m so excited to share this with you guys! I’ve teamed up with some amazing DIY bloggers this month to create a project using GraphicStock. Never heard of it? GraphicStock.com is an awesome resource for images that can be used for web design or projects.
I think the hardest part about this challenge was choosing the graphic image. There’s so many options!
But as those of you know who follow this blog…we’re renovating a bathroom!
Honestly I think you guys are gonna get sick of reading about it. But she’s just not ready for her full reveal. And while Bob is working on the heavy lifting (now in the living room), I’m over here asking when the final wall trim is going up around my beautiful new door in the bathroom.
That one has earned me “the look” on a number of occasions. He doesn’t quite get yet how I must photograph a room with a toilet to share with the world.
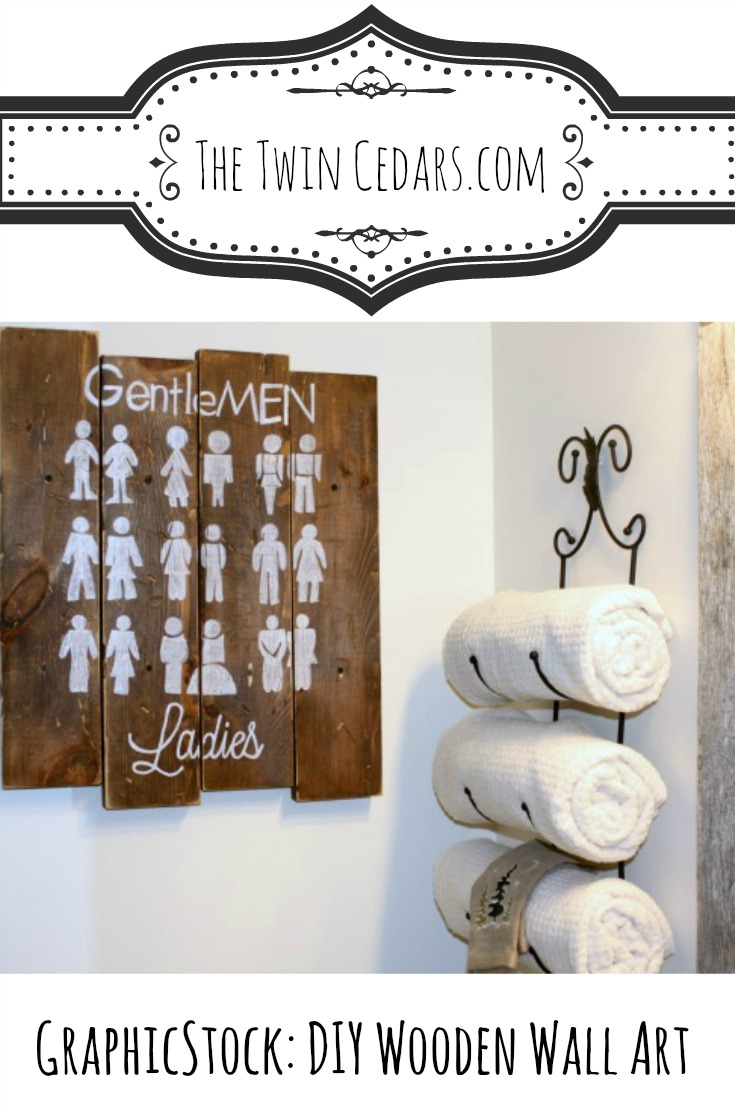
A-n-y-hoooo…I found an excellent graphic that would be perfect by our porcelain throne.
Here’s the graphic after my alterations.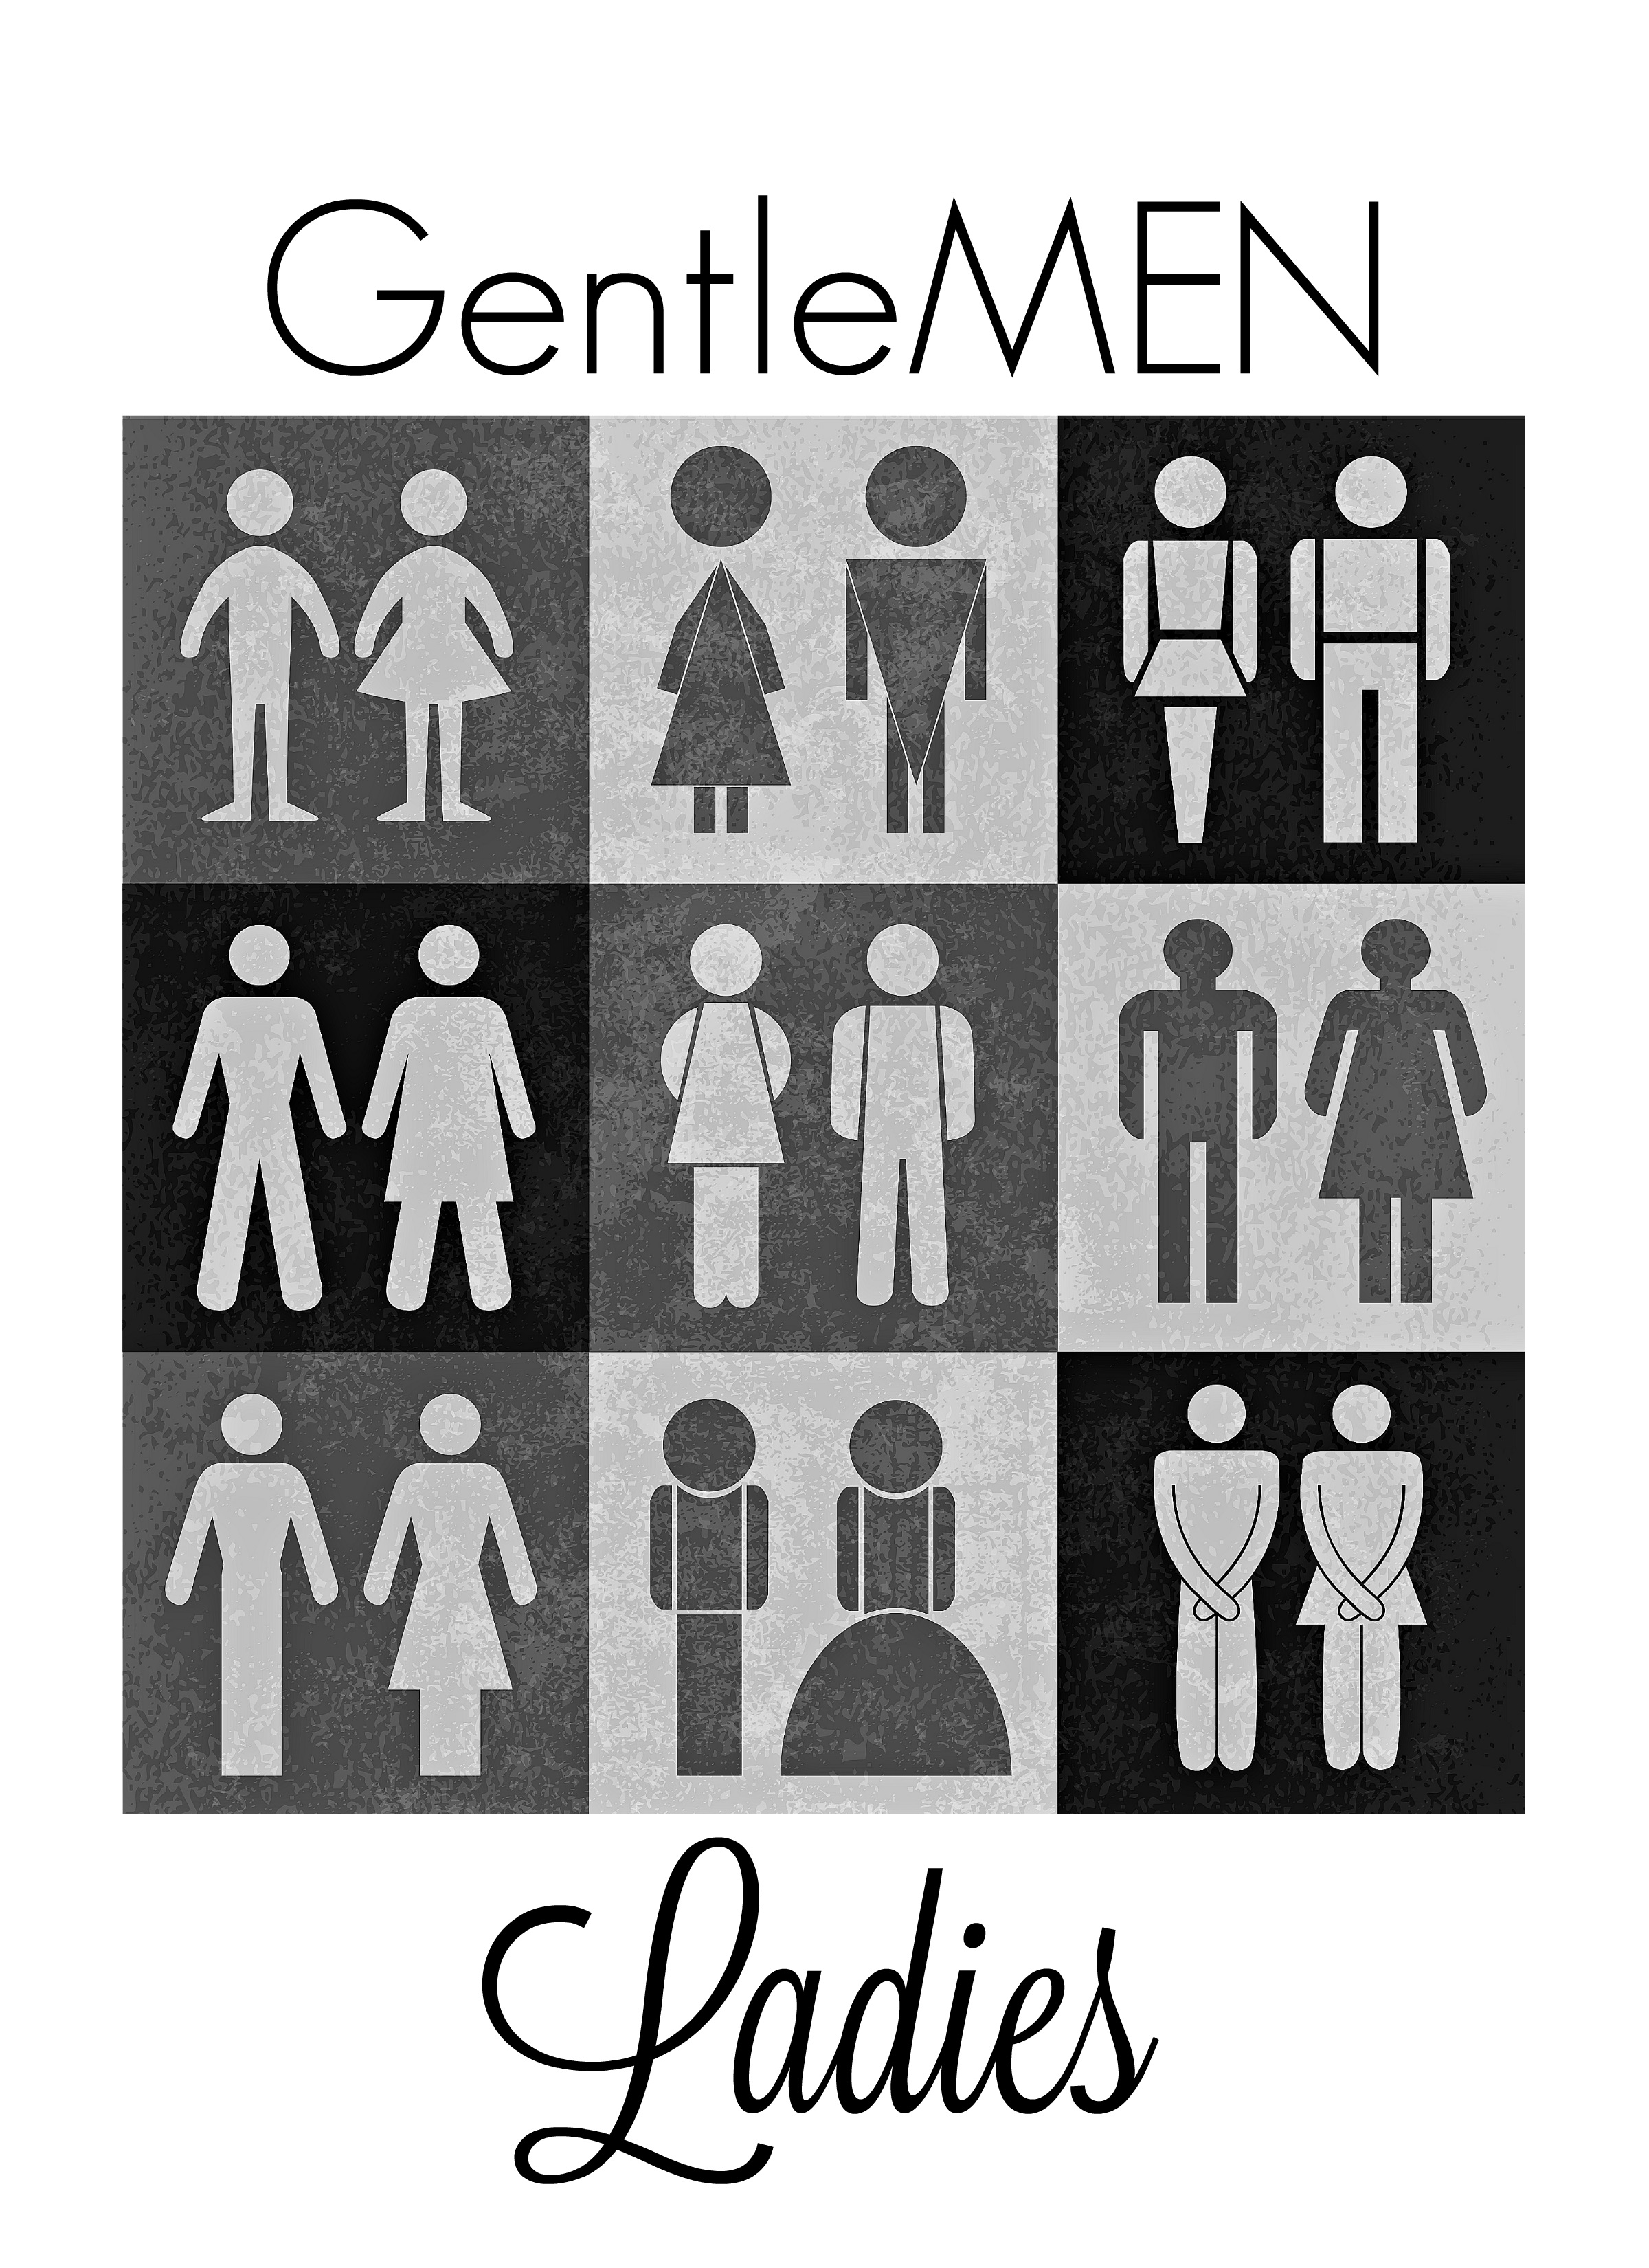
Awhile back I purchased an overhead projector. Used and from ebay…about 50 bucks after all was said and done. I can remember sitting in high school thinking how fun it would be to get my hands on one of those…you? no? hmmm…
But really this thing is so cool! I intended to use it for rustic wall art pieces anyway (and let’s face it, I’m not a freehand artist) so when this challenge came along, I knew it would be perfect!
Here we go…
Create your image using a site like PicMonkey then save to print. For this project I made sure the image size was around the size of an 8 x 11 1/2 inch piece of standard paper.
The cool thing about using an overhead projector is you don’t have to print as a mirror image. Just make sure you use the correct transparency paper for your type of printer (ink jet vs laser).
In a dark room adjust the distance of the projector to make the desired size of your image.
Follow the lines!
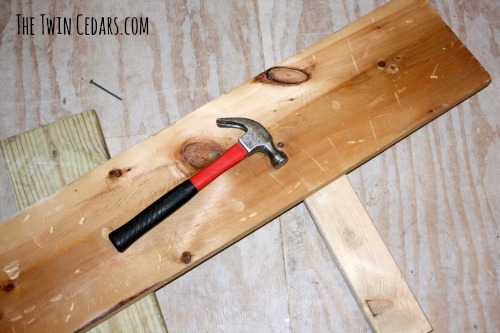 I distressed, then stained, then sanded the edges (just a bit), glued and screwed my boards together.
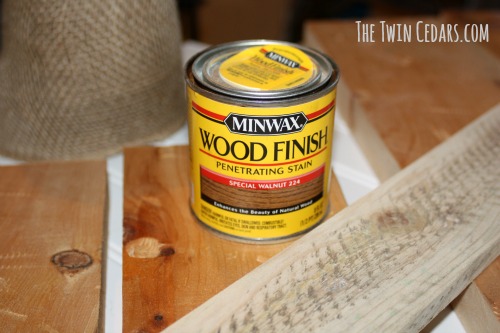
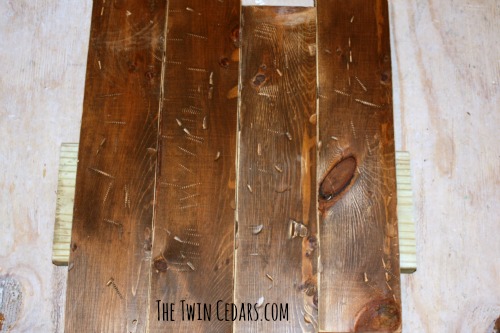 Because I chose to stagger the wood pieces it made it hard to prop up against the wall, my solution for that was to use some large white craft paper. Outline your image, cut to fit, then using a sharp object (I chose a pen) simply press just hard enough to transfer the outline onto your wood piece.
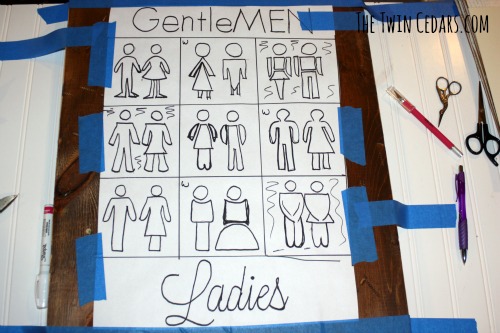 Using a handy white oil based paint marker, I went over where I wanted my little people filled in.
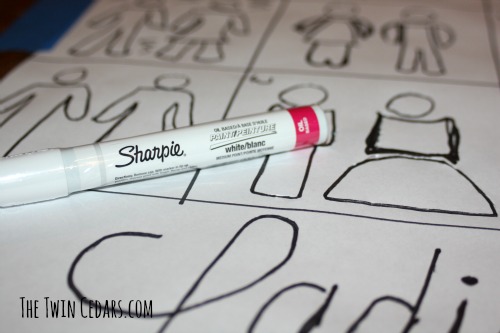 Once painted and dry I gave them a light sanding, just to soften the edges and keep with the rustic wood feel.
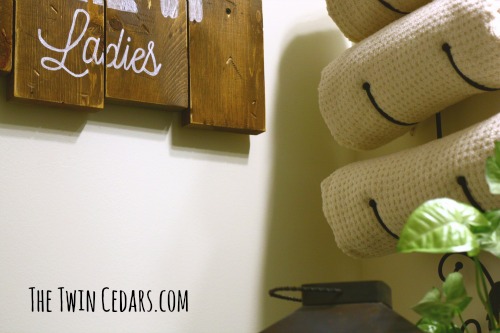 Using a braided steel wire and a couple of eye hooks I hung our rustic wood wall art directly to a stud…which was in a perfect centered location on the wall I needed…I’m not always that lucky.
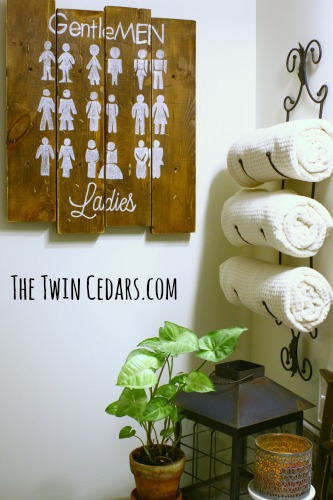 Use this link to explore the possibilities of your imagination and get a 7 day free trial for being a reader of The Twin Cedars.
 Thanks so much to Stephanie at Casa Watkins for arranging this fun challenge! Be sure to hop around for more inspiration from these fantastic DIY blogger friends of mine!
Also, we’ll be sharing our projects on HomeTalk! Head on over to see what else I’ve shared there.



Meghan! This turned out so well! Love love love love!
Thank you so much Crystal! And thanks for stopping by the blog 🙂
Very cute and goes so well in your bathroom. You did a great job on that sign, it has a folk art vibe to it and is rustic, perfect.
I like your folk art description, Patty. It was fun to make…save for a few splinters 😉 Thank you! And I appreciate your visit to the blog!
Very cute idea. Your project turned out great.
Thanks Bon Bon!
This is great, Meghan! So creative! I like how you transferred your image to the wood. That part would have stumped me! Great job!
Yes Tiffany, I had to think on it a bit. I thought of doing a wax paper transfer but it would have blended with the dark stain too much and don’t think the image would have stood out enough. Thanks!
This is a great idea, I want to make one for my bathroom now. So creative!
Haha, Emily! All of these fantastic DIY bloggers can be so inspiring! Thanks for stopping by, can’t wait to check out your project!
Love this for the bathroom!! So cheeky.
And so it is Kathy! Thank you – hahaha!
I just love this graphic! I think I may need to use it for our bathroom, too. I loved how you put it on planked wood. It looks great!
Thanks Jenny! I’d love to see what you come up with 🙂
These are so cute – what a clever idea!
Hey Meg! Thank you 🙂
this is super cute and I would totally love to recreate something like this. Love the idea!
It was a fairly easy project. Thanks Jessica!
Haha, this is adorable! I love it, so cute and unique!
ULTRA CUTE! This is so fun and playful!!! I love it. Creative and beautiful. Thanks for participating in the Create and Share this month!
Thank you so much Stephanie! I’m so happy to be apart of this group, thanks for having me 🙂
An overhead projector? Absolutely I wanted one of those!!! Great idea, love it!
HA! Thanks Sara I knew someone out there would understand 🙂
This is so cute and I love it in your bathroom!
Thank you so much Ruthie! It was fun to participate in this challenge!
Such a cute project! And I love finding ways to upcycle wood you might have lying around.
Thanks Sarah! Free is so much better when utilizing project materials 😉