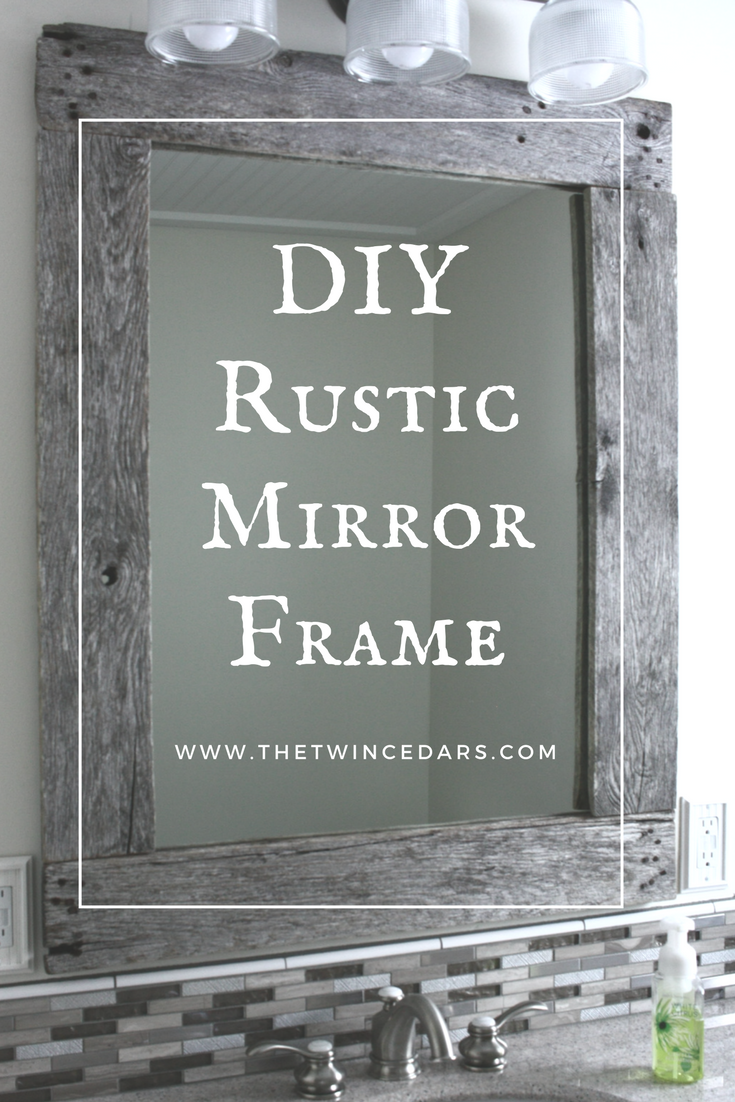
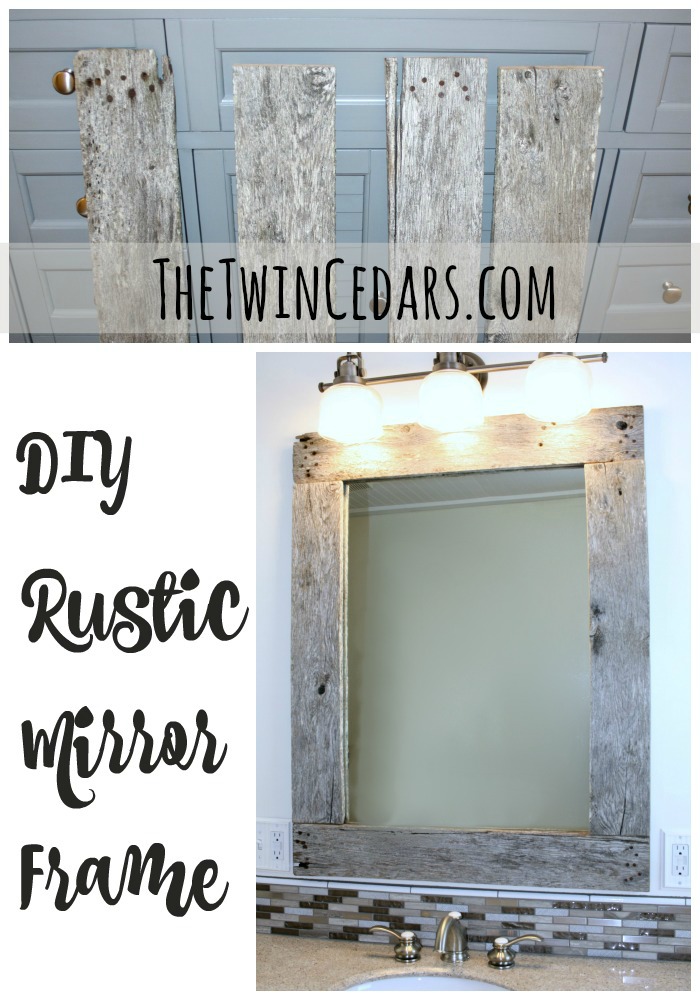
This has to be, by far, my favorite thing in this bathroom! And ya know what? This DIY rustic mirror frame could not have been any easier.
This post contains affiliate links. This means that if you click through and make a purchase, The Twin Cedars may receive a small commission at no additional cost to you…we appreciate your support. Full disclosure here.
So what does one do when they have a laundromat that came with the resort business they bought? Well, look out back and check out all the old stuff, of course.
I’m pretty sure my father-in-law had no idea that a 30 year old wooden fish crate would become such a high valued piece in our home.
DIY Rustic Mirror Frame Tutorial
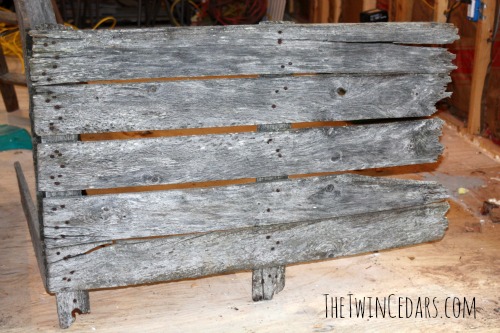 Yes people! 30 years of awesome, beautiful wooden-goodness-aging. I mean what do people pay for this stuff? It’s like the rustic decor DIY’ers dream come true!
You might remember this welcome sign I created with just one piece this past fall.
Aha…but I have more and I’m not giving up my stash.
We brought this big hunk of diamond-in-the-rough beauty inside, since I’m not really concerned about the floor in this process of house renovations, and because we heat with wood and own a dehumidifier we were able to dry this baby out in no time…like a couple weeks.
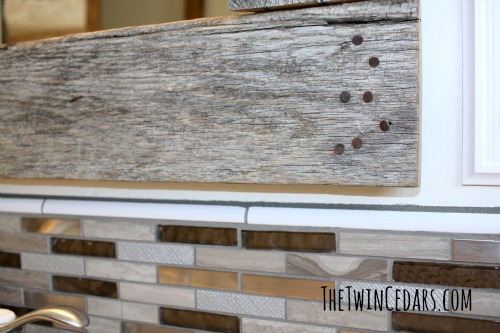
Oh glory to the DIY gods for the amazing rusted nails still embedded.
 We actually saved this mirror from the “before” bathroom to reuse. It was a little scratched on the edges but otherwise in great shape…and as it turns out, we aren’t really interested in perfection anyway.
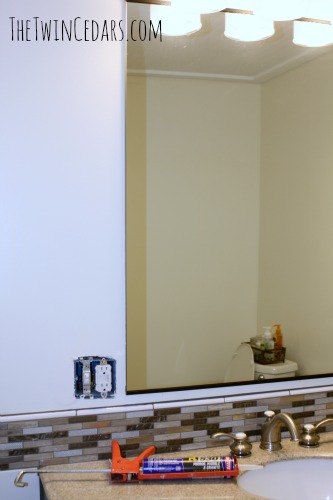 But you’re gonna have to wait for the full bathroom reno reveal to see how she really started out.
Ok on to what you really want to know…how did we attach it?
First we chose our pieces and because they’ve been out in the elements for so long you can imagine that some pieces were pretty warped…so the least bowed you can find.
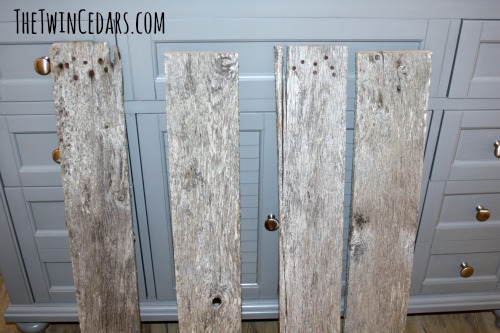 Cut to size. We chose to butt the ends up to each other instead of creating a fitted angle. It makes for a better fit in this particular project, keeps with the not-so-perfect rustic appeal and is less measure work.
We kept the ragged ends and definitely had to hang on to some of those rusty nails…tetanus anyone? Bob hammered a few back in on the cut side.
Give it a light sanding. A bit more on the backside.
Time to assemble.
Use this to adhere the board to the mirror.
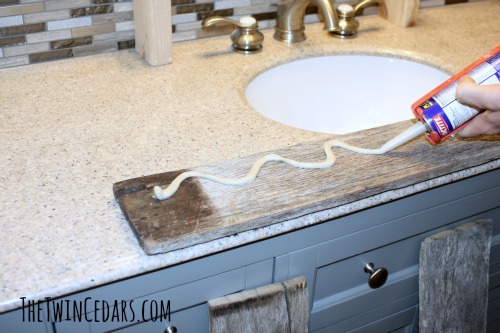 Make your bead and apply it directly to the mirror.
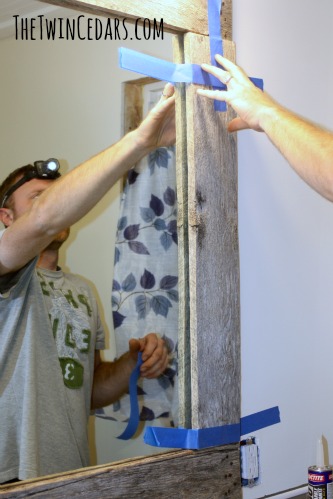
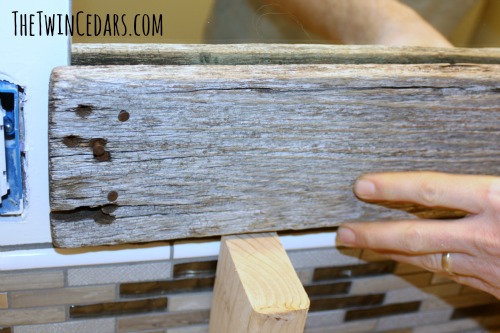 The boards will slide some and since this stuff has a 48 hour dry time, we placed a couple 2 x 4’s cut to fit underneath to hold them up.
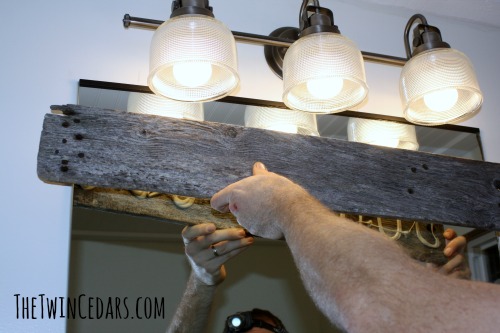 Yes guys…he’s still wearing the headlight! I’ve posted to Instagram about this in the past…he tells me not to, which makes we want to even more, hahaha.
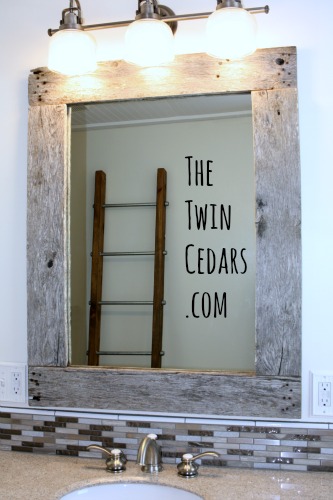
 Oh such DIY rustic mirror frame beautiful-ness! When most things in your bathroom remodel are brand new, this is the perfect way to make it feel like home. Lived in with the perfect amount of rustic!
 Follow the blog on Facebook and Pinterest for all the latest!
Related posts:
DIY Room Decor, a Rustic Blanket Ladder
Resort life update and those Floating Shelves!
How to DIY a Lazy Susan & make her pretty

Wow….love this look and the aged wood is wonderful. Pinning and sharing.
Thanks so much Bonbon!
What a great idea to upcycle those planks. Looks wonderful as a frame around a simple mirror. Can’t believe it takes 48 hours to dry though. I guess better safe than sorry. 🙂
Yes the package says 48 hours but I’d say it was pretty well cured after 24…you’re right though…better safe! Thanks for stopping by Tee!
This turned out so pretty. I love the rustic wood against the mosaic tile.
Thanks Jess! I wasn’t sure how I was going to feel about that combo but I think it balances pretty nicely too.
Brilliant! A win-win! I can’t wait to read more of your blog… I’m super jealous of your resort ownership. That sounds so cool. And so Gilmore Girls. ?
Oh my gosh thank you Liz! I have to admit I haven’t seen the Gilmore Girls…but I also have to admit I googled it when I read that. Lol! So funny! And yes, I sometimes think we could have a sitcom, reality show or some other show with all silly, weird, interesting drama going on at random. Thanks for stopping by!
I love it! It’s amazing how a little change goes a long way! 🙂 Hugs!
So true! Thanks Benita!
I am wondering, is there a gap between the boards and the wall that can be seen? If so how did you fix it?
Good question Sherri! I was actually really concerned about this, especially because the boards aren’t completely straight. I was really worried that we might be able to see the glue reflection because of it. Yes, there’s a gap but you cannot see the glue and I actually like that it’s not a perfect fit. We talked about putting a clear silicone around the edges in the gaps but when it was done we felt it was great without it. The other thing I thought about was any drips or condensation from moisture in the bathroom but this has not been an issue at all.
OMG, where can I find fabulous wood like that. This mirror is killer gorgeous. Thanks fr sharing.